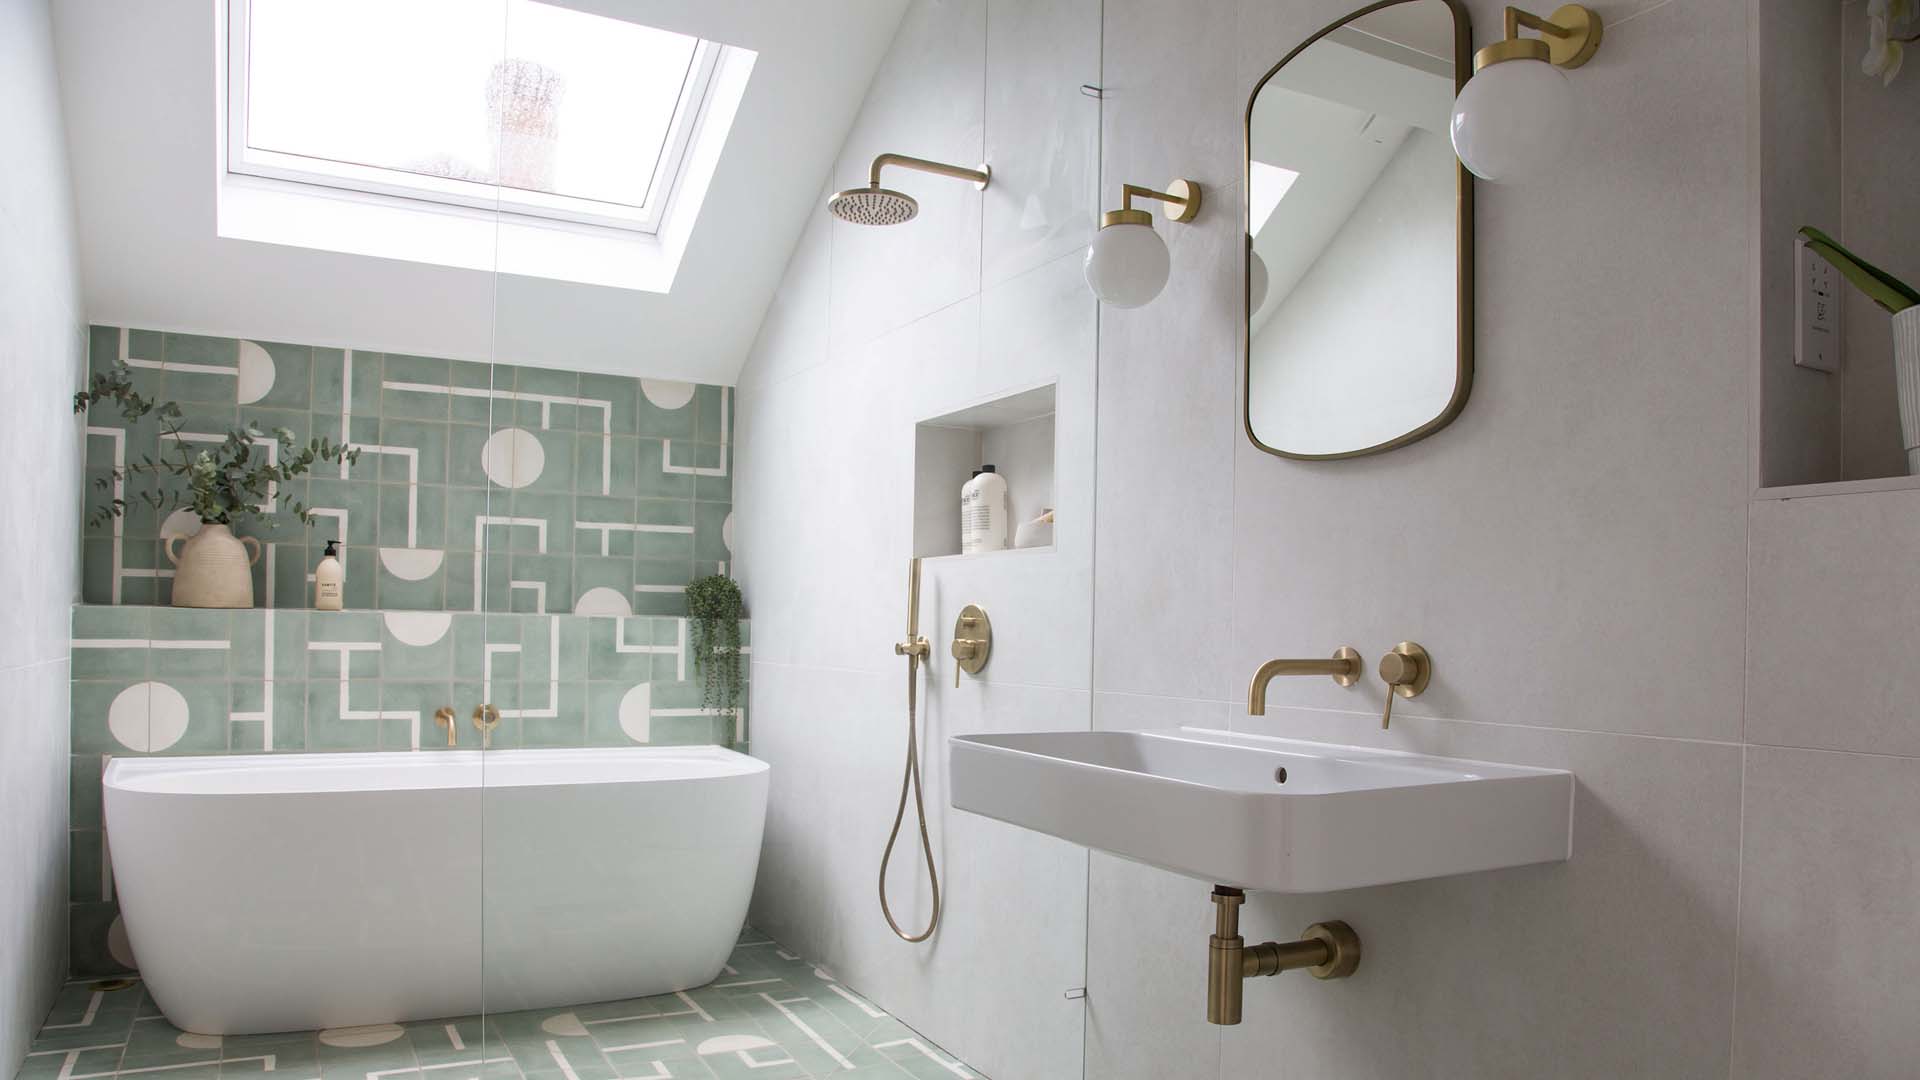
Image credit: Getty Images/brizmaker
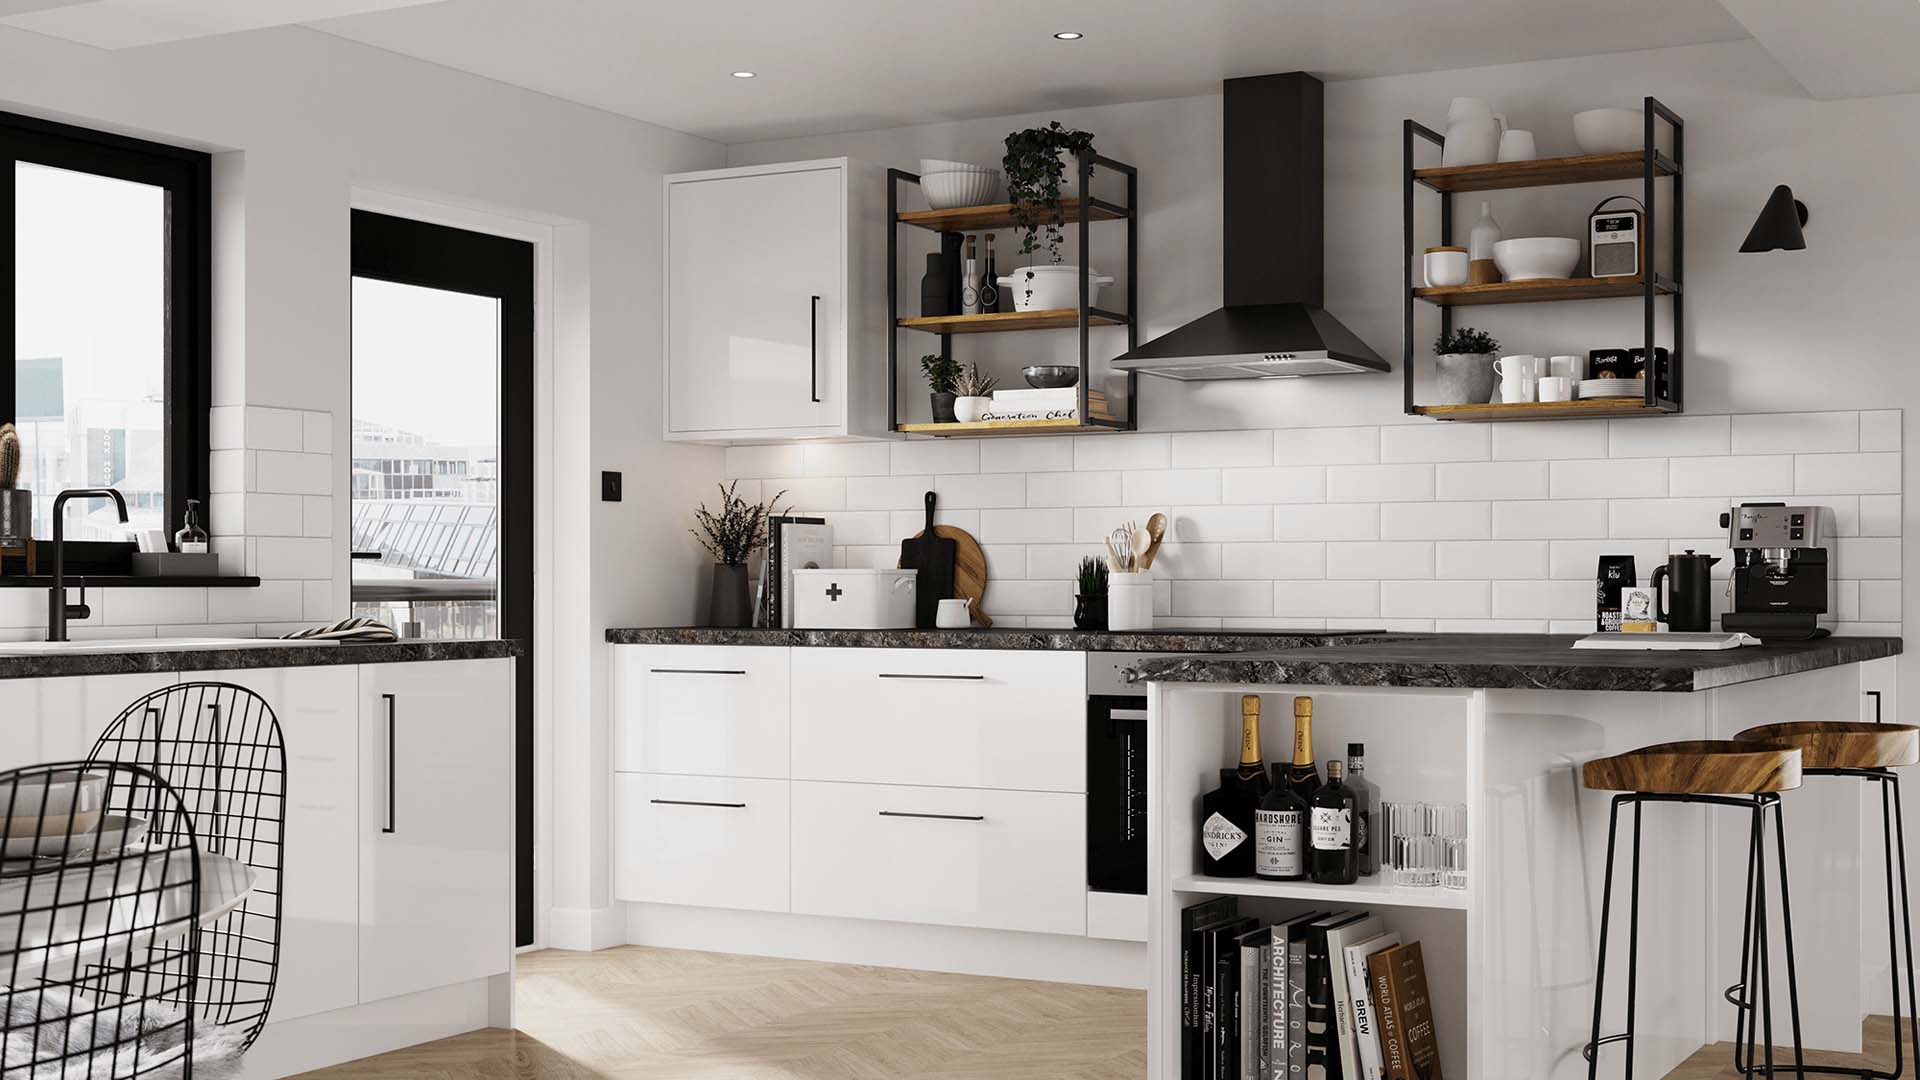
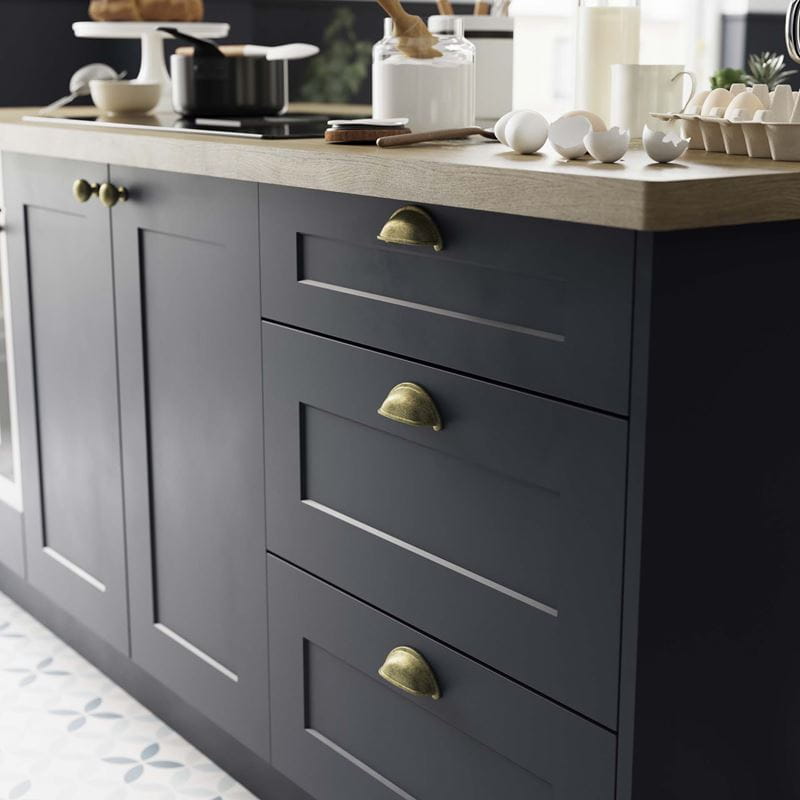
Replacing the handles on your kitchen cupboards is an easy way to update the room’s feel. You could change to knobs, T-bars, bows or even cup pulls to improve your kitchen’s look and functionality.
Replacing like for like is usually the easiest option but don’t let that put you off trying something new, if you want to. Go wild!
Follow our guide below to take you step-by-step through the measuring, drilling and securing of those carefully chosen handles.
Connor Prestwood, interior design specialist at Dowsing & Reynolds, believes changing your kitchen handles should be anything but boring:
“There are no rules style-wise – handles on drawers, knobs on cupboards, mix and match or all uniform. The choice is yours. Have fun with finishes, textures, styles and sizes to create a look that’s practical for you and your space.”
Prestwood certainly believes in mixing it up:
“You don’t have to stick to the same size handles that are already on your cupboards – be brave and swap them out for a heftier size or go discreet and opt for knobs – you can always refill the holes.
“If you’d prefer to conceal the old holes rather than fill them, go for a handle with a backplate.”
Once you’ve decided on the style of kitchen handles to go for, it’s time to prepare for installation.
“First and foremost, you need to be prepared with the right tools for your kitchen cabinets,” says Tom Revill, co-founder of Plank Hardware.
Here’s his recommended list of equipment:
The time you need to set aside will vary depending on how many handles you have to change and if you can simply replace like for like.
If you need to drill holes, you can expect the task to take longer. However, once you’ve installed the first kitchen handle, you’ll get into a rhythm and will find you speed up as you go.
Usability is the key point when deciding where to position your kitchen handles.
“As a general rule of thumb,” says Revill, “base unit handles tend to go at the top of the door, so you don’t need to reach too far down for them.”
Smith has similar advice when positioning wall handle units:
“They should be fixed towards the bottom of the door to avoid you having to reach up high to open the cabinet.”
For drawers, think about how you open them – to give visual balance and for ease of opening, drawer handles are best positioned centrally. And if you are opting for knobs rather than handles, they should be placed on the opposite side to the cabinet’s hinges.
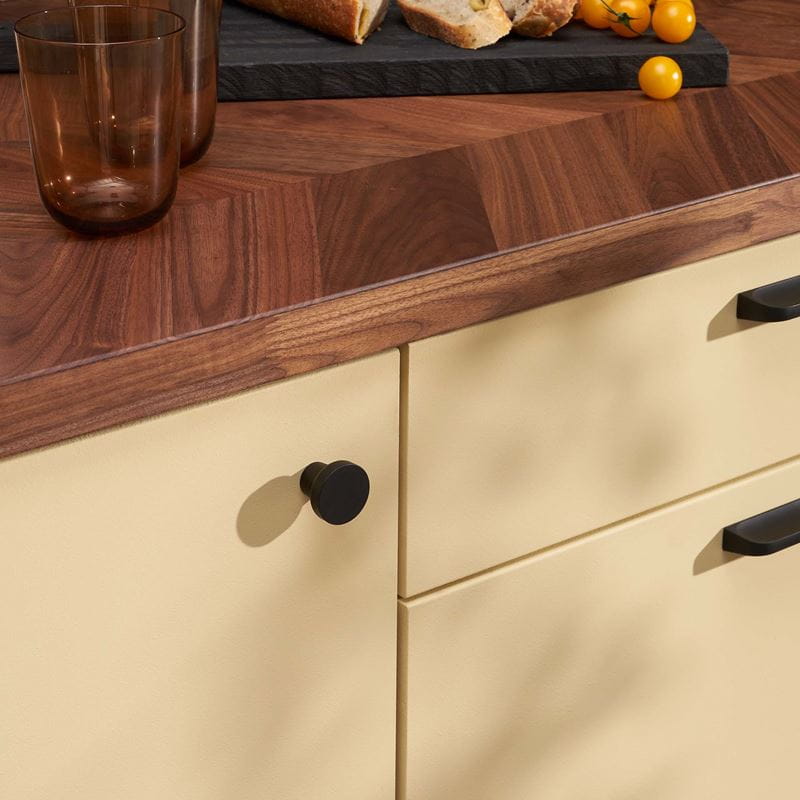
Brushed satin copper finish Como cabinet knob, The Handle Studio, RRP £4.97
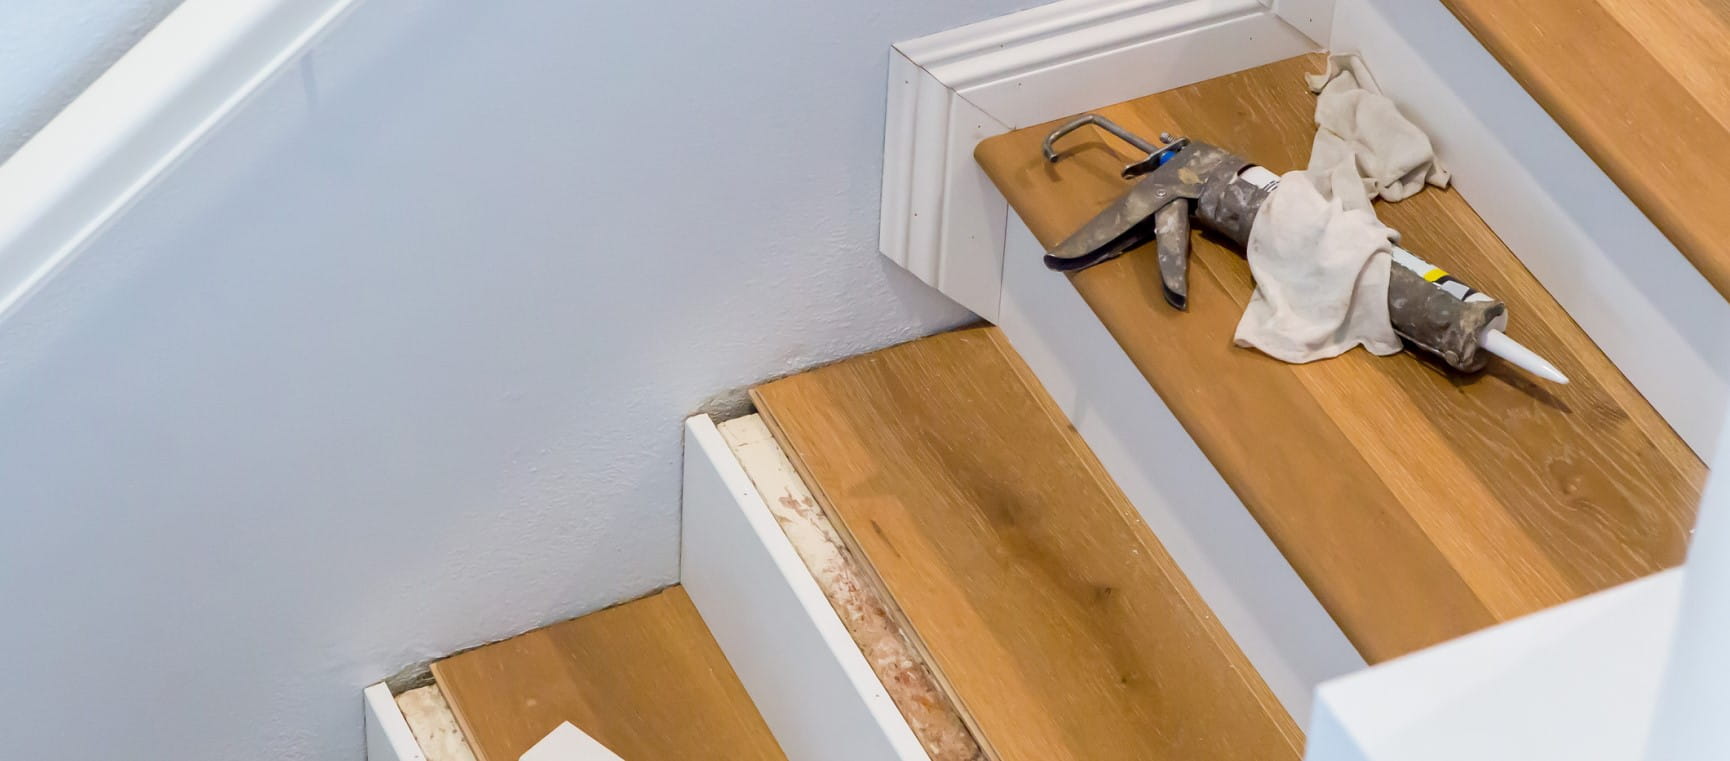
Replacing like for like is the simplest option, so it’s worth checking the screw hole positions of the handles you are about to buy.
“Ideally these will match up, meaning you can re-use the holes without having to do more drilling,” says Smith.
“If they don’t match, however, keep in mind that after drilling new holes you may be left with visible holes where the previous handles were fixed.”
Overcoming this problem is simple if your intention is to add an extra level of transformation to your kitchen by painting the cupboard fronts. This will allow you to fill any visible holes then paint over them.
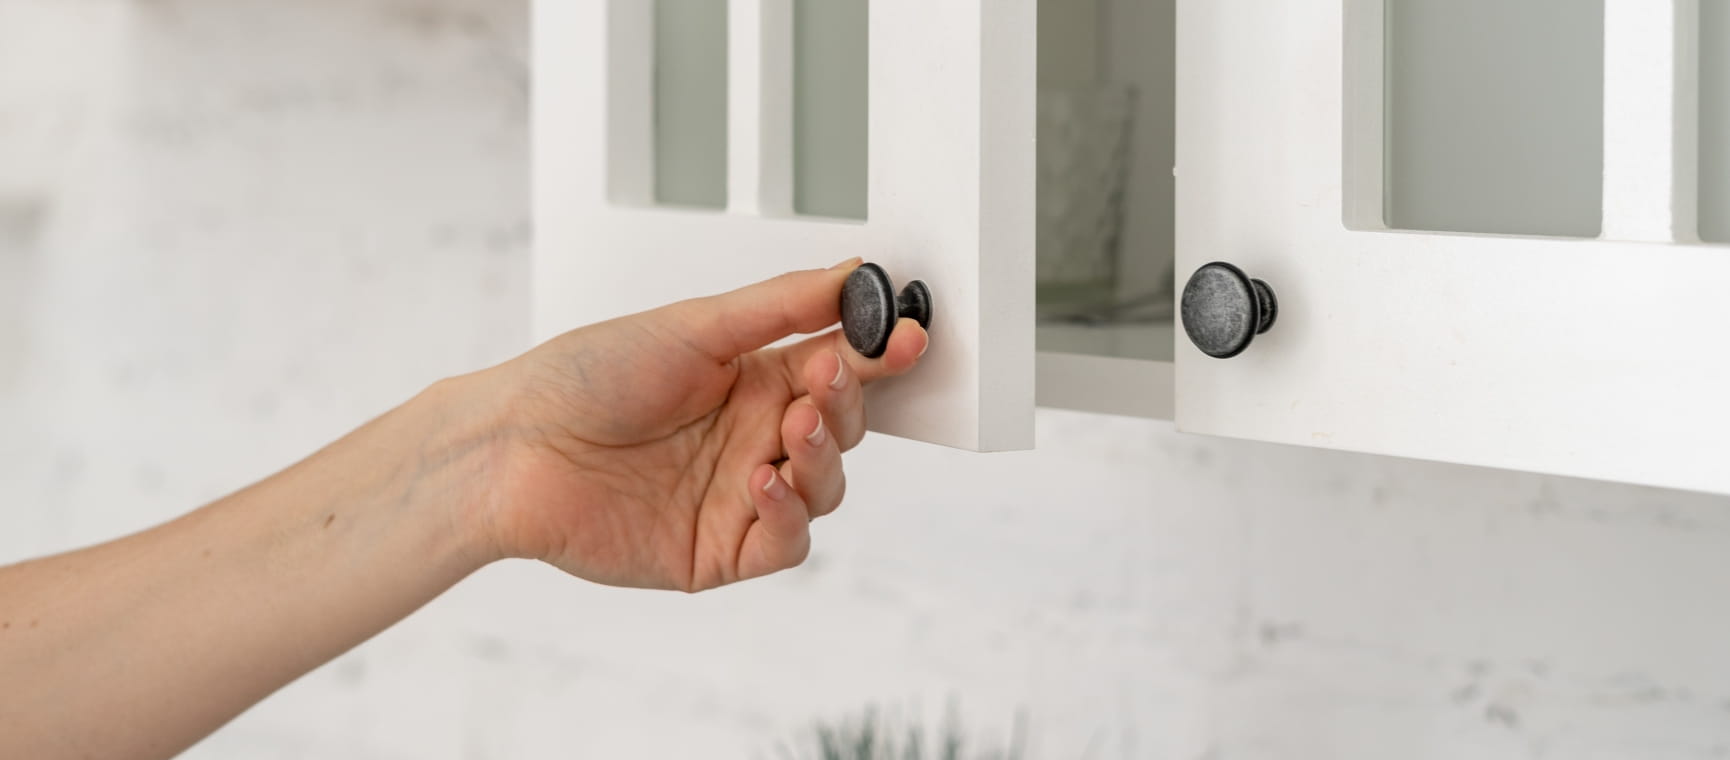
Once you’ve decided on where you want your handles to go, you can mark out their position.
“Always drill your holes starting from the outside to ensure your new handles sit exactly where you want them to,” says Prestwood. “The beginning of the hole is also neater, so drilling this way will give you the most professional-looking finish.”
Revill recommends using a smaller drill bit to drill a starter hole.
“This will give your larger drill bit something to grip on to,” he says. “Line up your drill to the pencil mark you made using your template and slowly drill into the wood, keeping your hand as level and steady as possible.”
Before you start, Prestwood suggests checking the length of your screws: “Too long and you risk damaging your handles, too short and they won’t be secure enough.”
“Then it’s time to secure your new kitchen cabinet handles,” says Revill. “You can now push the screw through the drawer front into the handle and tighten by hand.” Prestwood also suggests tightening the screws with a manual screwdriver:
“Avoid using an electric screwdriver to secure the handles – this can over-tighten the screw, causing it to snap.”
If you’ve experienced kitchen handles that don’t stay in place, Prestwood has a handy trick: “Use a dab of superglue when fitting drawer knobs to prevent them from spinning.”
Saga spoke to Sian Astley, interior designer at Moregeous, to discover her top tips on updating a kitchen with new handles.
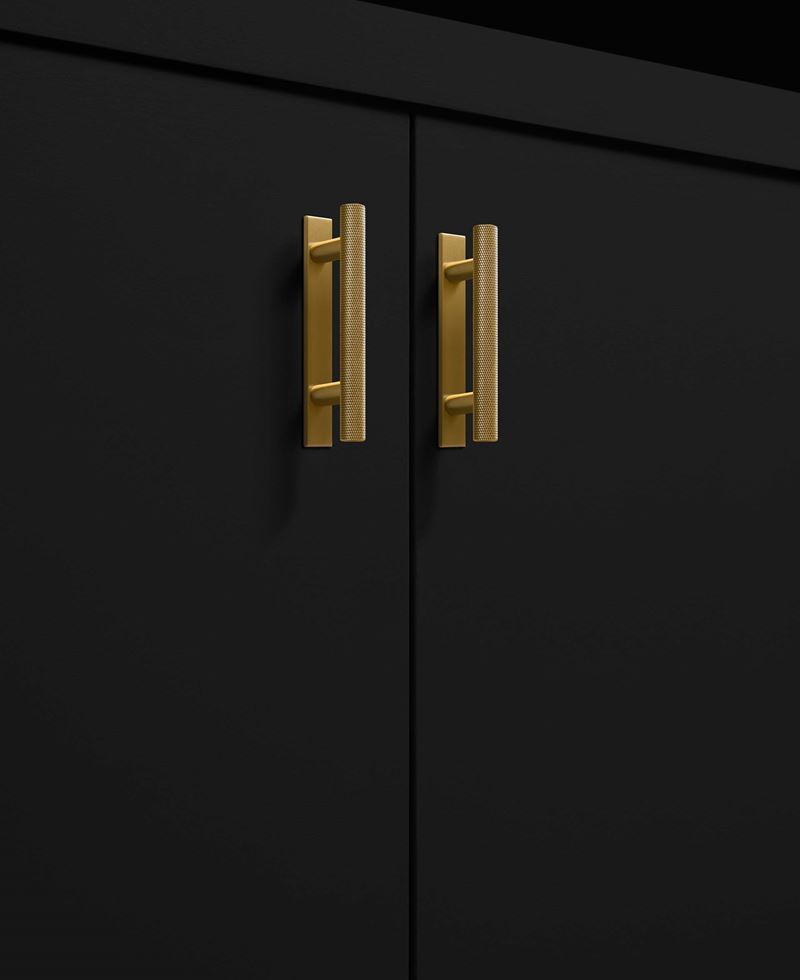
“Knurled industrial handles, both in bar and knob styles, are very popular at the moment. My clients are definitely stepping away from boring T-bars and looking for handles to add character and personality to their doors – picking up brass or black details from taps, sockets or appliances.”
T-bar black, Buster & Punch, Buster and Punch, RRP £45
Astley also has a top tip to avoid fitting issues: “It’s always a good idea to use standard-width handles, which can then be changed at a later date should you fall out of love with copper or a particular on-trend style.”
“Your choice of manufacturer will be governed by budget. Ikea and Ironmongery Direct are super- affordable and well-made for the price. I’ve specified Ikea for years on rentals and they always last the distance,” says Astley.
“Decent mid-range and on-trend brands include Dowsing & Reynolds or Corston. But if you have the budget to splash out on top quality, head to Armac Martin, Buster & Punch or Croft – they are absolute handle heaven!"
Leebank solid brass cabinet knob, Armac Martin, RRP £61.92


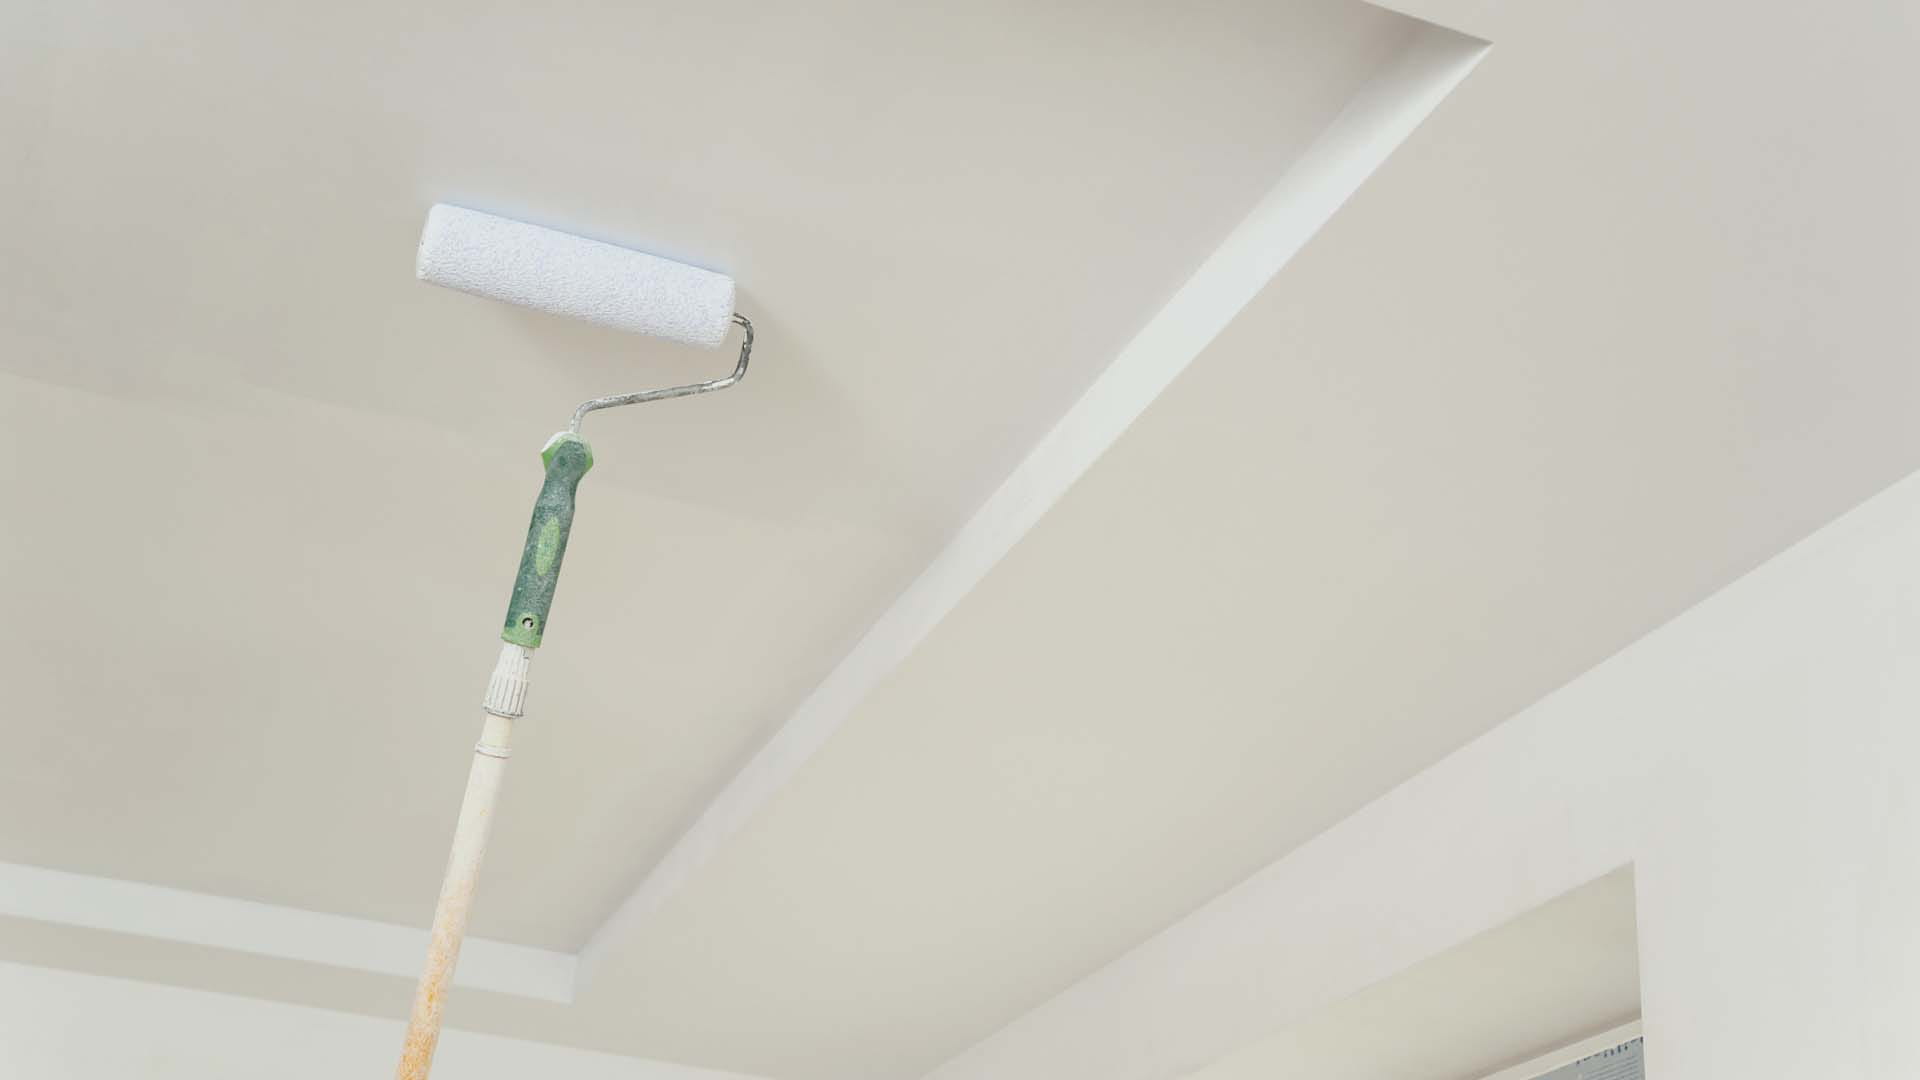
The best advice on preparing and painting your ceiling from a professional.