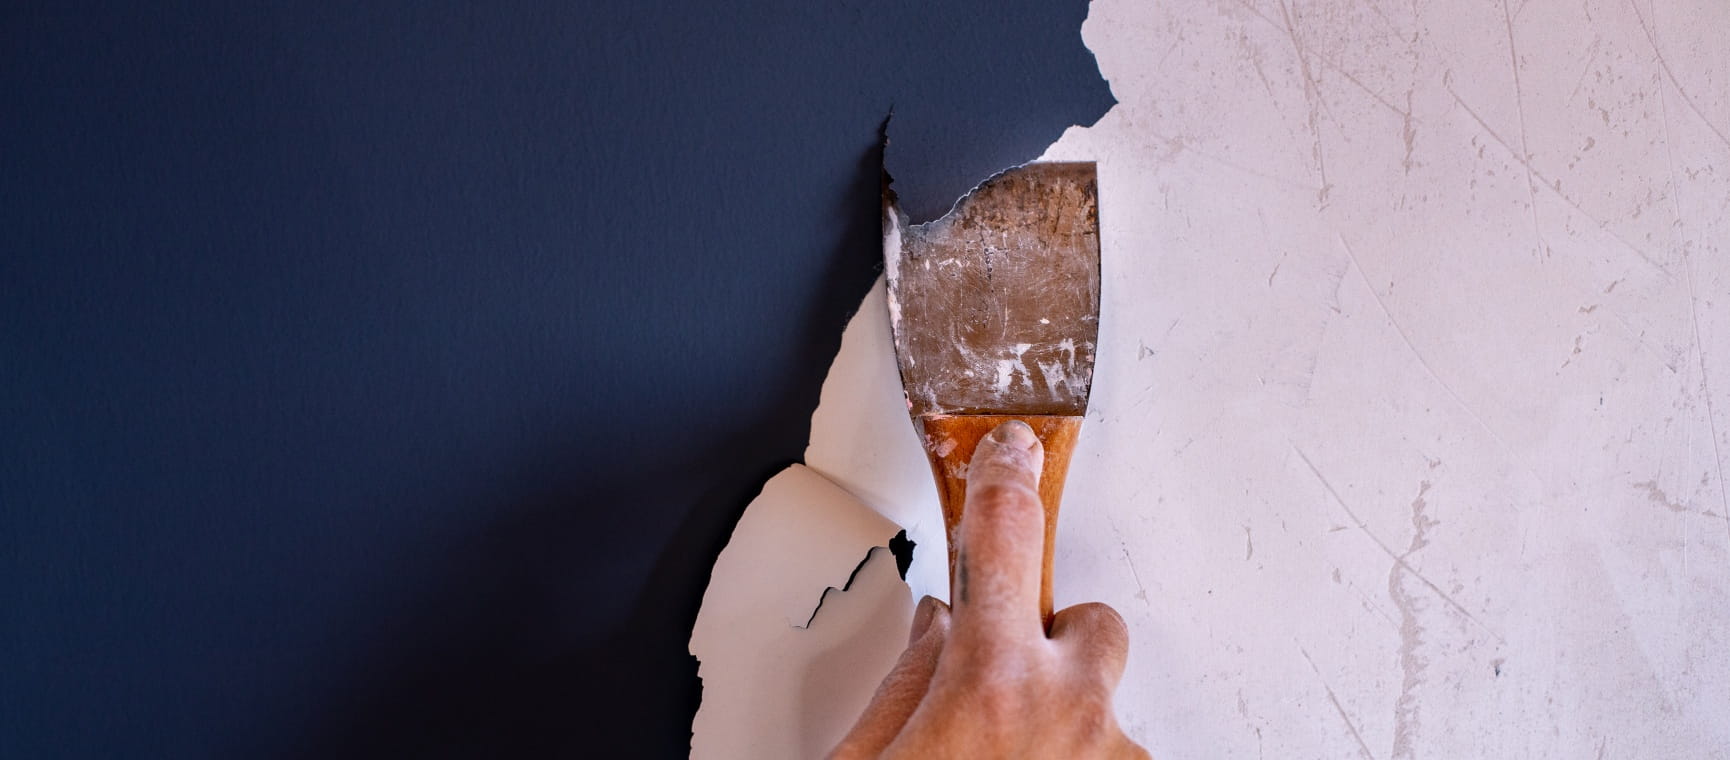
Image credit: Getty Images/Gulcin Ragiboglu
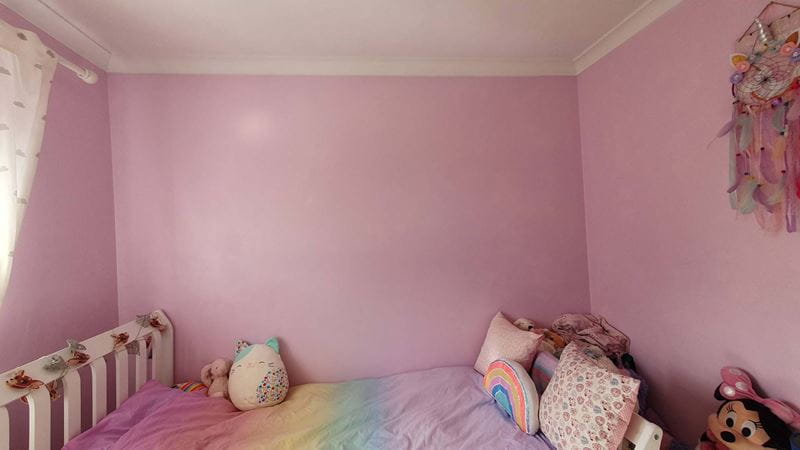
When I set out to decorate my daughter’s bedroom, I geared myself up for the prep work involved. It’s the worst bit about decorating, I think – there’s so much to do before you even pick up a paint brush to make sure the finished job looks good. Little did I know that one day in, I’d be having to add fixing peeling paint to my prep to-do list.
It all started when my attempt to try and scrape off the paper border, which went all the way around the bedroom, didn’t work and I had to buy a steamer.
I went for the Wagner Steamforce 2000W electric wallpaper stripper (Screwfix, £41), and I have to say it worked a treat in removing the paper border really easily.
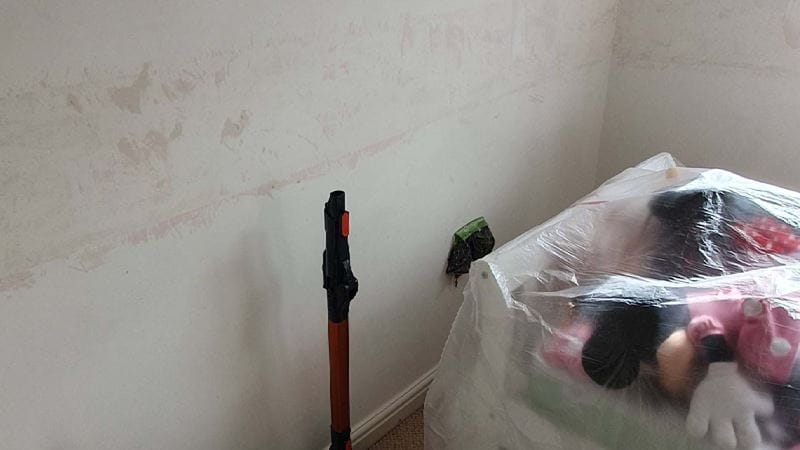
Trouble was that the paint underneath started to bubble and peel off as I steamed and scraped – not great. It had the consistency of sticky chewing gum, and I could literally pull great patches of paint away from the wall.
This left irregular patches all the way around the room – the height and depth of where the original border had been – and looked a complete mess.
Fixing peeling paint is not something I’d had to do before so, after a few choice words, I set about sorting the walls.
Here’s how I fixed the peeling paint and the kit I used to do it:
These are the tools I used:
Make sure to remove all the flaky bits
After I’d removed all the paper border, I used a Harris Seriously Good stripping knife to scrape away any leftover peeling paint and flaky bits. This is important because you want the wall to be as sound as possible before painting it.
I did sand down the whole section – I used an 800 grit sandpaper wrapped around a sanding block to try and achieve a really smooth finish. But, to be honest, it just wasn’t getting rid of the irregular patches from where the paint had peeled off – and there were lots of them.
Harris Seriously Good Stripping Knife, RRP £4
Use a filler to help patch up
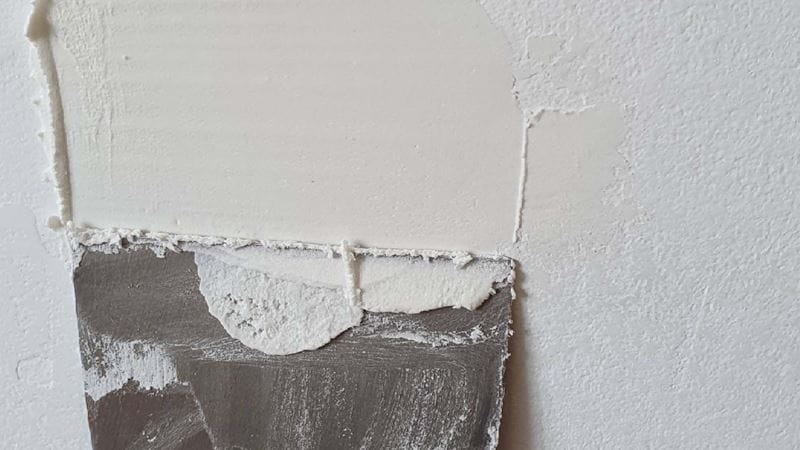
I decided to fill the patches instead by using Polycel’s Multi Purpose Polyfilla. It has a good creamy consistency, and I smoothed it on with a filler knife.
You need to press the knife down with a fair bit of pressure to make sure the filler goes on smoothly to avoid having lots of rough, bumpy bits to sand down.
Polycell Multi-purpose Polyfilla, RRP £4
Choose sandpaper coarse enough to smooth the filler
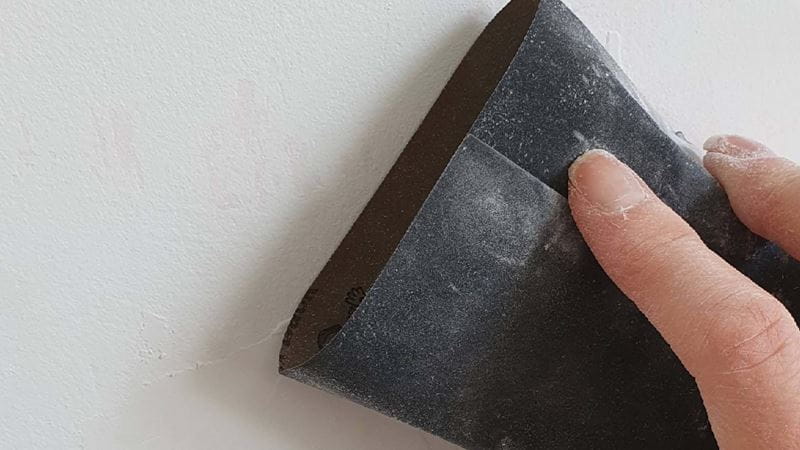
Once I’d filled every patch and it had dried, I sanded it all down the next day. I used a 400 grit sandpaper, which was coarse enough to create a smooth surface area. I’d advise wearing a decorator’s face mask when doing this as the sanding causes a lot of fine dust, which you’ll want to avoid breathing in.
Having vacuumed (for what seemed like the hundredth time), I dusted the walls, and then wiped them with a damp cloth to remove any bits of filler dust still clinging to them.
Now it was time to paint on some primer, which acts as an undercoat before painting. I bought a 250ml tin of Dulux Primer & Undercoat, which is for multi surface use, and it worked well.
Make sure you choose a primer that can go on interior walls/masonry surfaces, and a quick-drying one is a good option. The primer I used was thick and silky, so I didn’t have to be too precise with it.
Dulux Multi Surfaces Primer Undercoat, RRP £10.99
Now you can finish the walls with your top coat
I left the primer to dry for a day and then I was ready to paint the walls. I decided to wipe down all the walls one more time, just to make sure they were clean and prepped.
I did discover a painting hack at this stage. I found using a radiator paint pad to apply a second coat over the primer worked wonders in getting the paint to really seep into the surface – a roller wasn’t really sinking the paint deep enough and was making it look patchy.
I then applied another coat with the roller. Fixing peeling paint, job complete!
Although the walls aren’t ever going to look perfect – a new coat of plaster would be the only way to do that – I’m really pleased with the finished result, bubblegum pink paint and all.
Peeling paint on walls can be caused by a number of things: excess moisture in the room; painting over unclean or unprepared walls; or painting latex paint over an oil-based paint. Any of these can mean the paint used doesn’t bond with the sub-surface, so will eventually peel away.
It was hard to tell exactly why the paint peeled off the walls in my daughter’s bedroom. It could simply have been that the moisture from the steamer exposed the fact the paint used either wasn’t right for the surface or the surface under the paint hadn’t been prepared properly.
In some places it did look like there was plaster underneath the paint, and in others, different coloured paints from previous rounds of decorating. It was a bit of a mixture. But it did seem to be a latex-based paint because the consistency of it was very rubbery and stretchy when it was peeling off.
“Most household paint now is water-based, with only a few oil-based gloss paints around,” says Rob Green, co-founder of Coat paints.
“Latex, vinyl or acrylic are different types of resin for water-based paints, and these usually play fine together when painting over. Painting over oil-based paint, on the other hand, needs more preparation.
"Surfaces should always be lightly sanded with a fine-grit sandpaper, and priming using a multi-surface primer is advised to create the most stable surface.
“Be careful, though. Some very old paints can contain lead, so if you’re restoring an old house and disturbing that you might want a specialist to advise.”


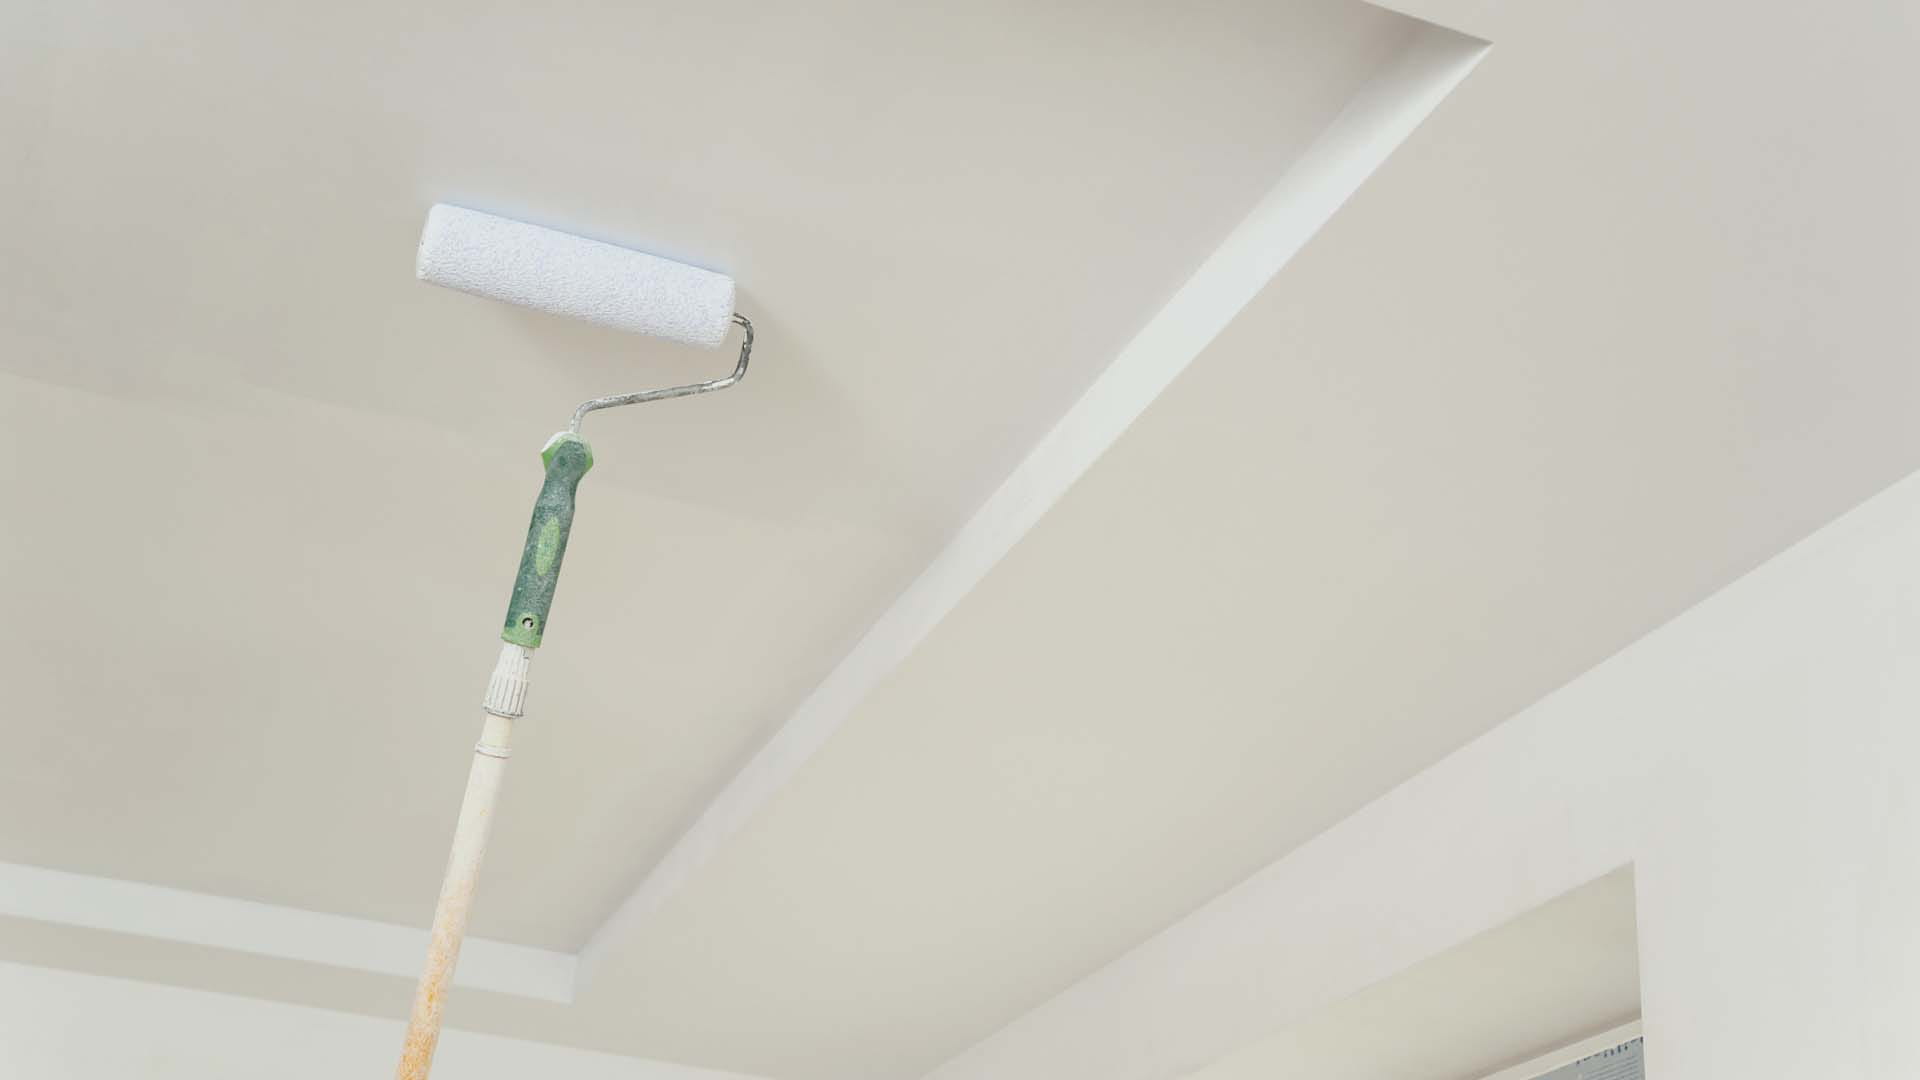
The best advice on preparing and painting your ceiling from a professional.