Image credit: Getty Images/Anton Arv
When it comes to decorating, buying all the tools for the job in one go can be eye-wateringly expensive. Paint rollers are one item you’re highly likely to need as they make the job of painting walls and ceilings so much easier.
Finding out how to clean paint rollers after you’ve used them will not only save you money, but, by reusing them, you’ll be an eco-friendly decorator too.
It's a relatively simple job you can do at home, although it can be a bit messy. How you clean them will depend on the type of paint you’ve used, so make sure you know whether it’s water-based or oil-based before you start.
We’ve asked some paint and decorating experts to share their top tips on the best ways to clean paint rollers so they can be used again.
Don’t wait until the paint is beginning to or has already dried on the roller. Hard, dry paint is much more difficult to get off a roller as it’ll adhere to the fibres and will take more effort and time to remove.
Instead, work with the roller when it’s still wet. When the paint is wet, you can salvage it and scrape it off. Rob Green, co-founder of Coat Paints, explains:
“First, reclaim as much paint as you can by scraping the roller. Leaving the roller on the handle makes this part easier.
“A putty knife is the best tool for this, but even an old spoon can work! Just scrape from top to bottom, catching paint back in the tin or the roller tray. Work around the roller, going from top to bottom. You’ll be surprised how much you can save, which might be handy to keep for touch-ups.”
“Be gentle while doing this to avoid damaging the roller’s fibres or the tool you are using,” says Pav Wąsik, founder of Uptown Interiors.
GoodHome 1" Heavy duty Putty knife, RRP £5.25
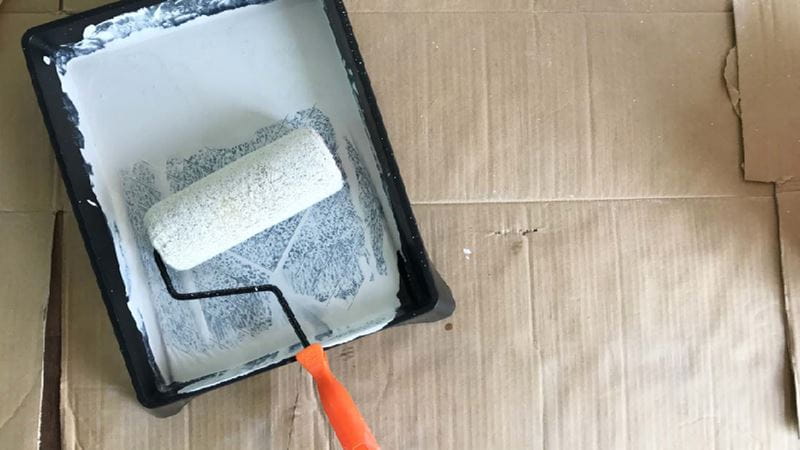
“After scraping the paint off the roller, roll on some cardboard until the roller runs dry – it’ll make the washing part even easier,” advises Green.
“The more paint you can get off the roller before cleaning it, the better.”
Wąsik adds: “You can also use a rag or paper towel to wipe off any remaining paint from the roller.”
Wear gloves if you prefer as this job can be messy. Once you’ve removed as much paint as you can, you can take the roller off its handle, and move on to the cleaning part.
Cleaning a roller you’ve used with water-based paint is fairly simple. The more paint you manage to scrape off, the easier this part will be.
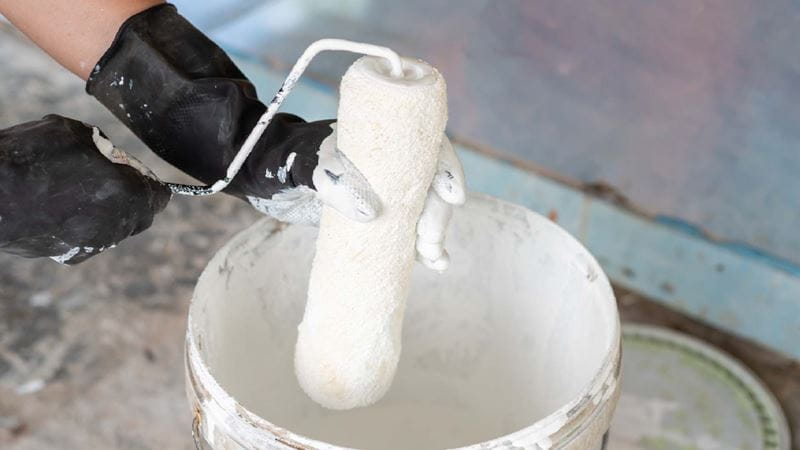
“Fill a sink or a container – a bucket is ideal – with 5–7cm (2–3in) of warm water, and a dash of washing up liquid,” suggests Green.
Immerse the roller into the warm soapy water. Mix the soapy water into a lather and work the roller with your hands to squeeze out the paint. Use a bit of pressure here.
“Do this for about two to three minutes, before draining the sink,” says Green. “A final rinse under the tap will remove the last of the paint and the roller should appear clear.”
You can use a paint roller cleaner tool for this bit, if you prefer.
Roamwild Dandy PRO 2-in-1 paint roller and brush cleaner, RRP £19.99
Cleaning oil-based paints from a roller is harder and more time-consuming than the process of removing water-based paint. However, the more paint you can scrape off before cleaning, the less time you’ll spend using solvents to remove it.
Some decorators say trying to clean microfibre rollers with a solvent can damage the integrity of the roller and don’t advise it. However, if you have used oil-based paints and you’d rather not throw rollers away, then you can try the method (below) to clean them.
Wear safety goggles and rubber gloves to clean oil-based rollers as you’ll be using white spirit solvent. Work in a well-ventilated room or outside, if you can.
Pour some white spirit into a container.
“Choose a container that fits your roller when laid flat,” says Green. “You only need a shallow amount of white spirit, so it doesn’t need to be a big container, at least as long as the roller and wide enough that the roller can roll over.
“Roll the roller in the white spirit to saturate it and leave it to soak for five minutes,” suggests Green. “Then, gently squeeze and massage the paint out of the cover before removing it from the container. Be sure to catch any drips at this stage.”
After this stage, you’ll need to carefully dispose of the white spirit by pouring it into a bottle or jar.
“Then, repeat the above process until no more paint comes out,” says Green.
Don’t do this job over a sink – solvents like white spirit should not go down the drain.
“Instead, pour into a disposable container and contact your local council about hazardous waste collection,” advises Green.
Once you’re happy that no more paint is left on the roller, rinse it in clean water.
“Do this over the container or into a bucket, so no white spirit washes down the drain,” says Green.
“Now add a few drops of washing-up liquid onto the cover and work into a lather,” suggests Green. “Rinse in clean water, again over the container or bucket, and shake out any excess water from the roller sleeve. Leave it to dry standing upright.”
“You can leave the bottle or jar with the dirty white spirit for 24-48 hours,” says Green.
“The paint will settle to the bottom, allowing you to pour the white spirit back into its original container for reuse. Let the paint remnants dry before putting them in the bin.”
You can air dry rollers by standing them upright, and ideally in a warm space, says Green. Or it’s possible to spin-dry the rollers before air drying.
“You can use a paint roller cleaner that spins or spin it manually,” explains Wąsik. “Be gentle while spinning to avoid damaging the microfibre roller.
“Either way ensure the roller is fully dry to prevent any mould or mildew growth.” Green adds: “If it’s not bone dry before using again, you'll get nasty water seeping into your fresh paint.
“Once they’re completely dry, you can use sticky tape or decorating tape to wrap the roller and remove any loose bits. This also helps to take the fluff out of brand-new rollers!”
If your room needs more than one coat of paint, and you need to leave it a few hours (or a day) in between, then it’s best to save your roller and paint tray rather than go through the process of cleaning them.
Wrap your roller in a plastic bag and tie it up so no air can get in. Do the same for your paint tray, too.