Latest articles

Student loan crisis: should you help pay off their debt?
Before you dip into your savings to help family with student debt, here are 5 crucial questions to ask.

Is your spare room worth thousands a year?

Fuel efficient driving: 8 ways to save on petrol
Find out the latest ways to improve fuel efficiency and cut petrol bills.

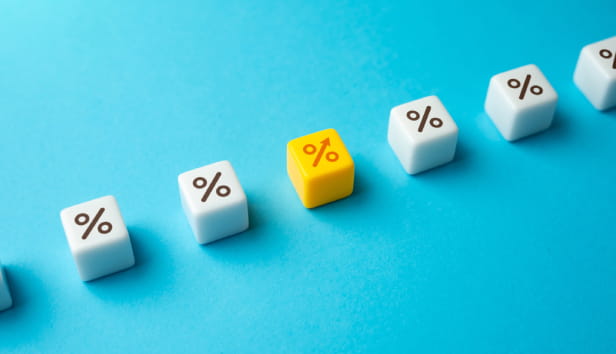
Could you claim a £1,000 marriage allowance rebate and cut this year’s tax bill?
One simple form could unlock a £1,008 lump sum and lower your tax bill for years to come. Check if you qualify.

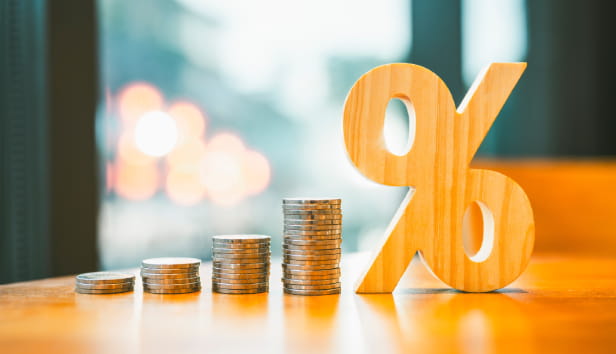
How much the continued tax freeze is costing you
Headline tax rates haven't changed, but frozen thresholds and shrinking allowances mean your household finances are taking a hidden hit.

How spending wisely could cut your inheritance tax bill
Spending on yourself could boost wellbeing and reduce the bill your family eventually faces.

Property
Browse our range of property articles

Should you help your child pay their mortgage?

Should you pay off your mortgage early?
Learn how to calculate if you'll be better off and the best ways to overpay.
.jpg?la=en&h=354&w=616&hash=45308A49847631A160FBFBF97F170540)
Sorting your mortgage after divorce: all you need to know

Should I ask my grown-up children to pay rent?

Rules to protect against your home being repossessed could be scrapped

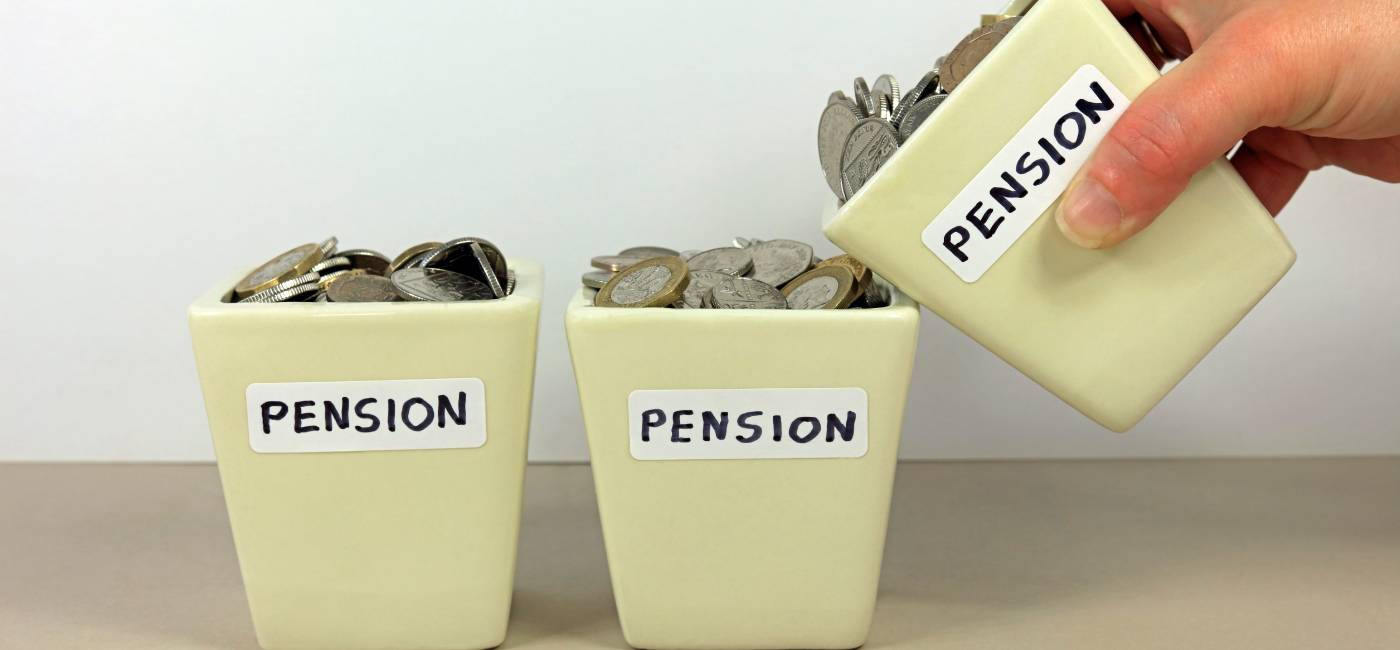
Pension or property - which is best for retirement income?
Should you invest in property instead of a pension? We compare income, returns and tax rules of buy-to-let to help you decide.

Saga Mortgages
Provided by Tembo
Find out all you want to know about mortgages with expert advice.
Saving and investing
Get smarter with our savings and investment articles

Make your savings work harder in 2026
Start the year positively with a savings account that offers a great rate – without the gimmicks.

20 ways to pay less tax on your savings and investments
Discover 20 simple, practical steps to ensure you pay less tax on your money.

Get a great rate on your savings from Saga Money
Tired of chasing headline rates that don’t last? Here’s a straightforward way to grow your savings.

Why emergency savings are crucial – and how to build them
.jpg?la=en&h=476&w=1440&hash=837FB8339853DB5FFD43C9EE0EE78EDB)
Saving for your future care
Discover why it's important to plan for your care costs, how to do it, and who picks up the bill.

What will happen to interest rates in 2026?
Discover how expected changes to Bank of England interest rates in 2026 could affect your mortgage, savings, and pension planning.
How the personal savings allowance works: a guide for savers
Discover how the personal savings allowance can shield your cash.

Premium Bonds vs savings accounts: Which is best?

Will you have to start paying tax on your savings?

Regular saving can help you sleep better, study finds

New tax year 2024: how to get ahead of most other savers
Saga Easy Access Savings Account

Saga Easy Access Savings Account
Get your money moving with our great rate.
- 4.11% AER / 4.03% gross p.a (variable).
- Includes a bonus of 1.25% AER (fixed) for 12 months and an underlying rate of 2.86% AER p.a. (variable).
In partnership with NatWest. Interest paid monthly. Available to UK residents only, designed for people over 50.
Pensions
Browse our range of pension articles

Pension crisis: will your children be poorer than you in retirement?

Pension inheritance tax raid confirmed: what you need to know
Learn the crucial details of the pension tax & discover how it will work in practice.

Pension inheritance tax: Should you spend or gift your money now?
Discover how to assess how much you can safely afford to spend or give away.

Pension tax relief: Are you claiming your free retirement money?
Don't miss out on this valuable pension perk – learn how to make the most of tax relief.

How to take money out of your pension

Inflation stays at 4% - what does it mean for your pension?
What you need to know from the latest update

Is the state pension heading for a crisis?
The state pension is a cornerstone of retirement, but can it survive? We explore the potential reforms.

How to find your lost pension pots for free
Don't miss out on money you're owed. We show you how to trace forgotten pension pots.

Have you chosen a pension beneficiary? Why you shouldn’t miss this important step
Pension consolidation: what you need to know
Learn how to combine pensions and whether it's worth it.

Pension Credit extra benefits explained: what are you eligible for?
If you’re entitled to pension credit, you can also unlock other cost of living help.