Gardens
Gardening and landscape design ideas to help you make the most of your outdoor living space.
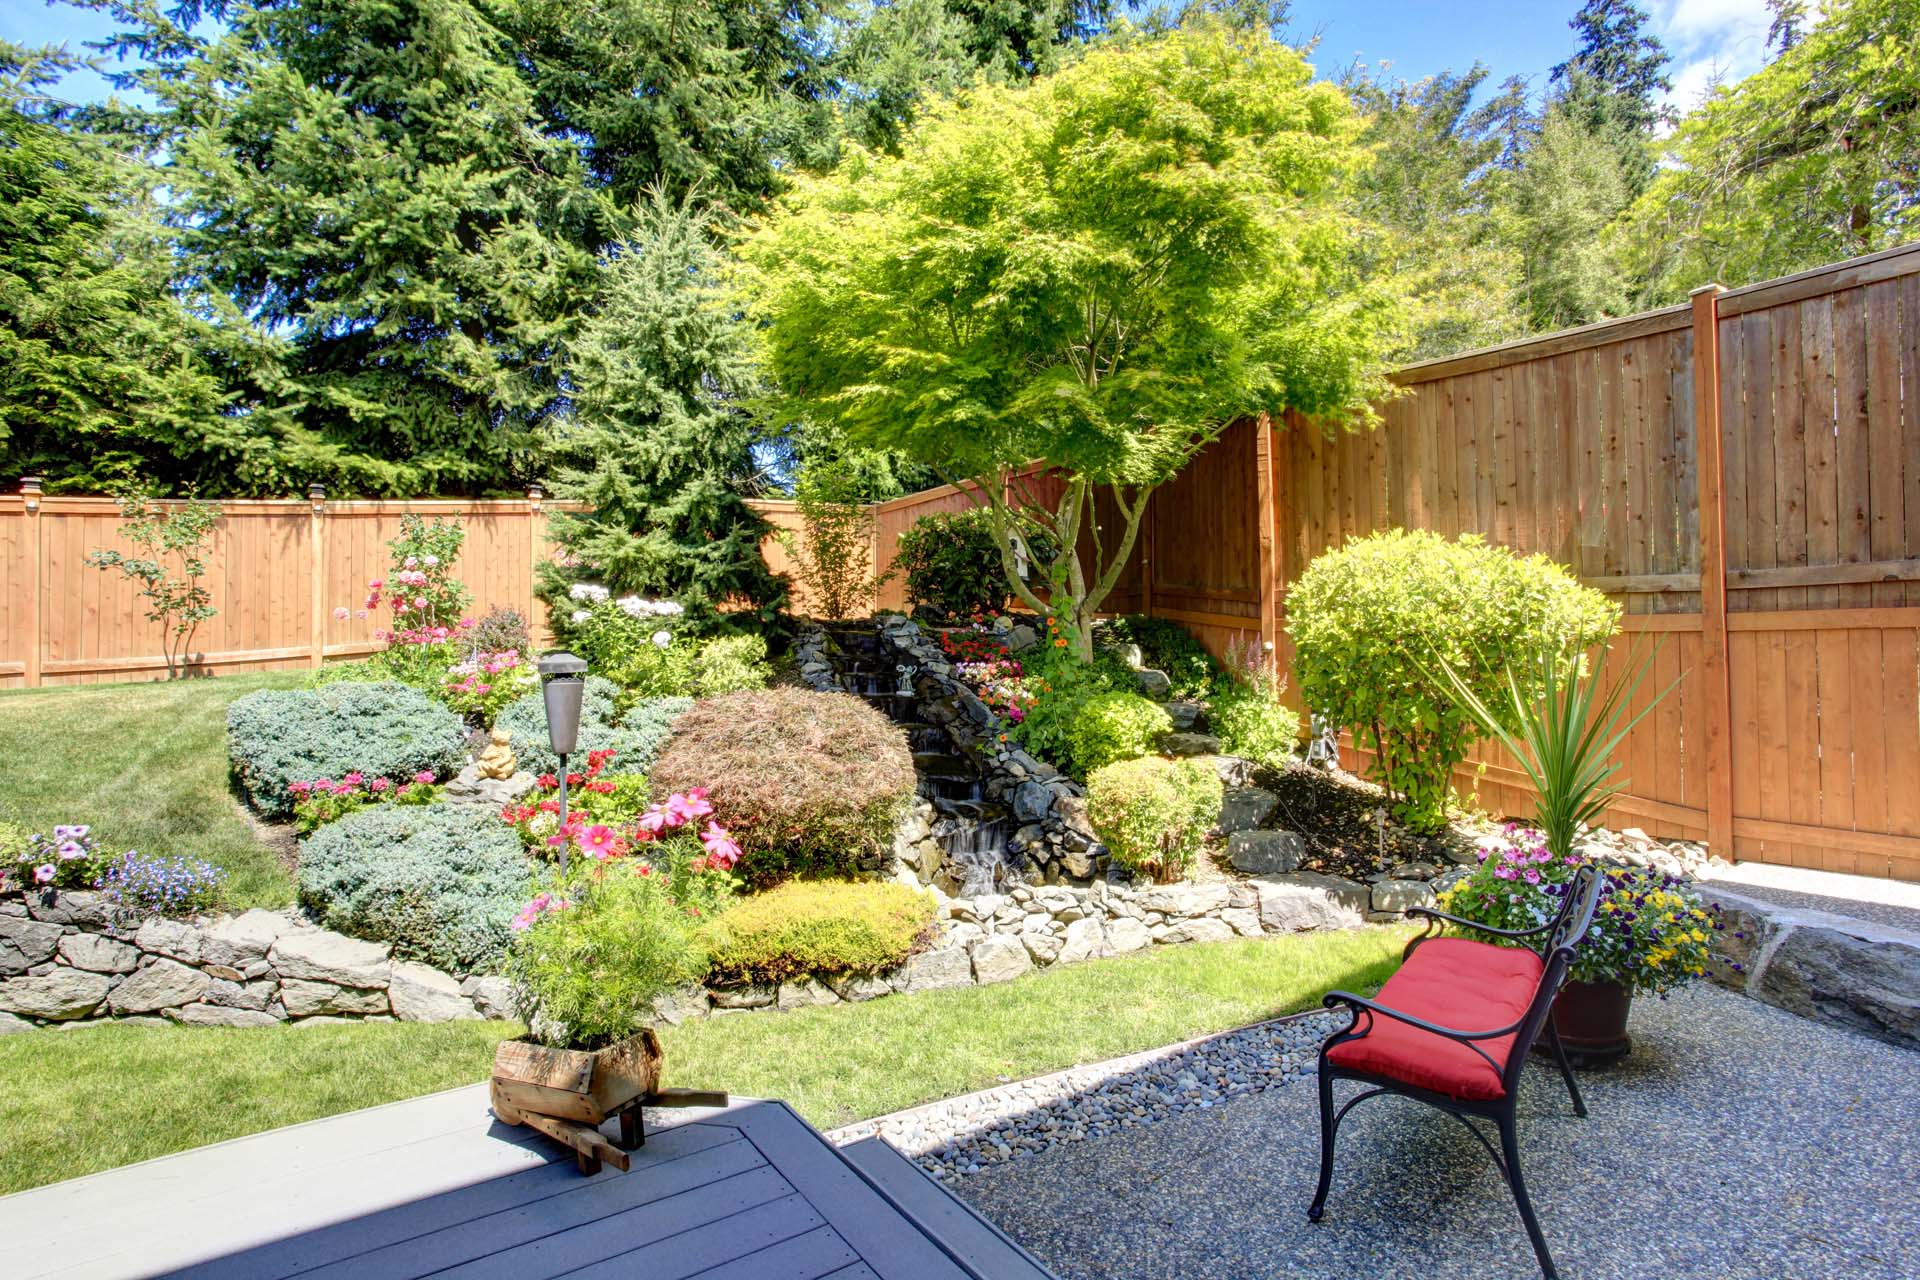
9 easy ways to holiday proof your garden
preExpert advice on how to prepare your garden for going away, so it will still be looking great when you return.
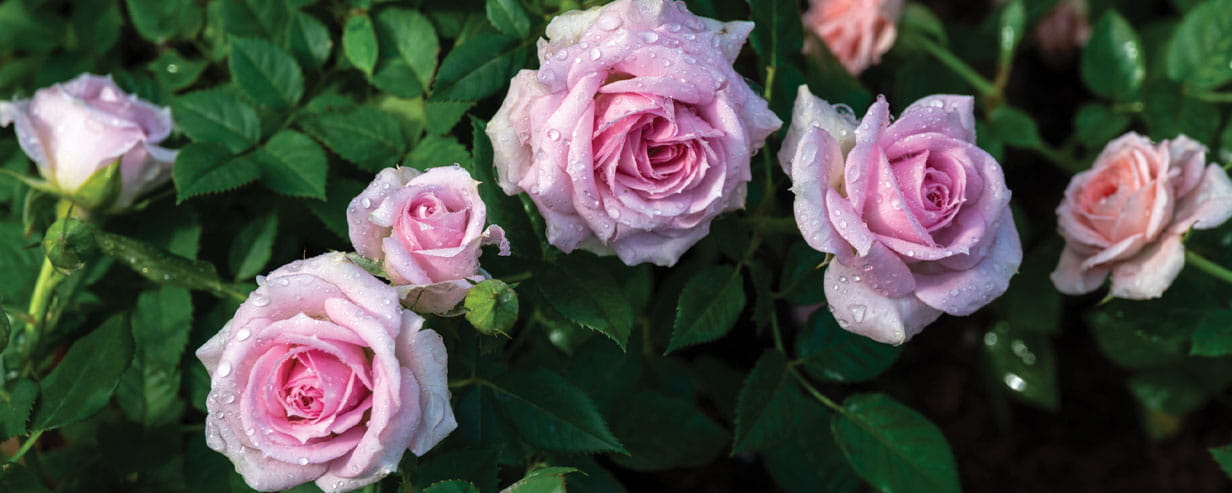
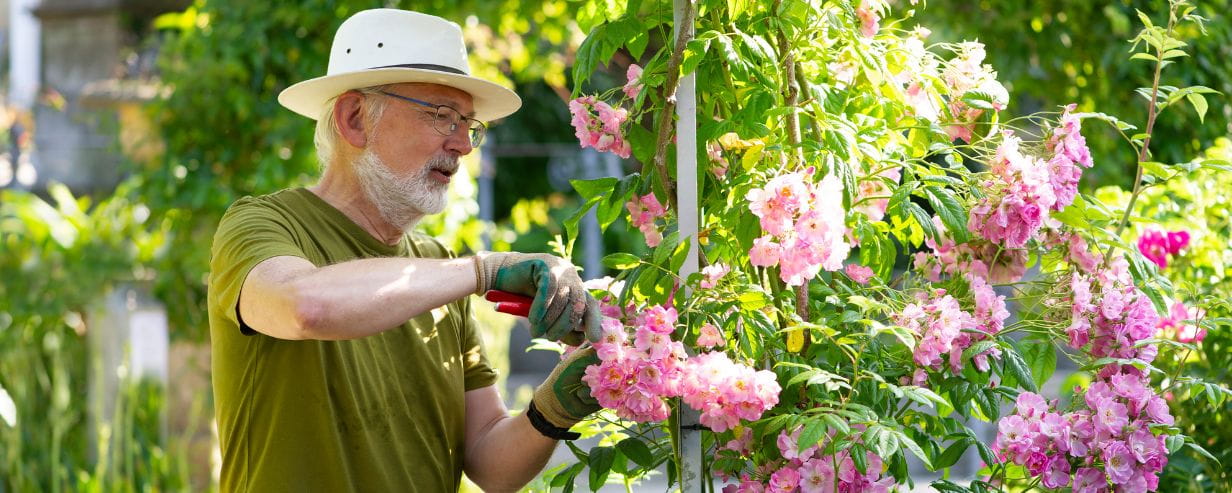
Why roses are easier to grow than you think
Experts say roses are one of the toughest and simplest plants to grow in our gardens.
Hosepipe ban: who’s affected and what are the rules?
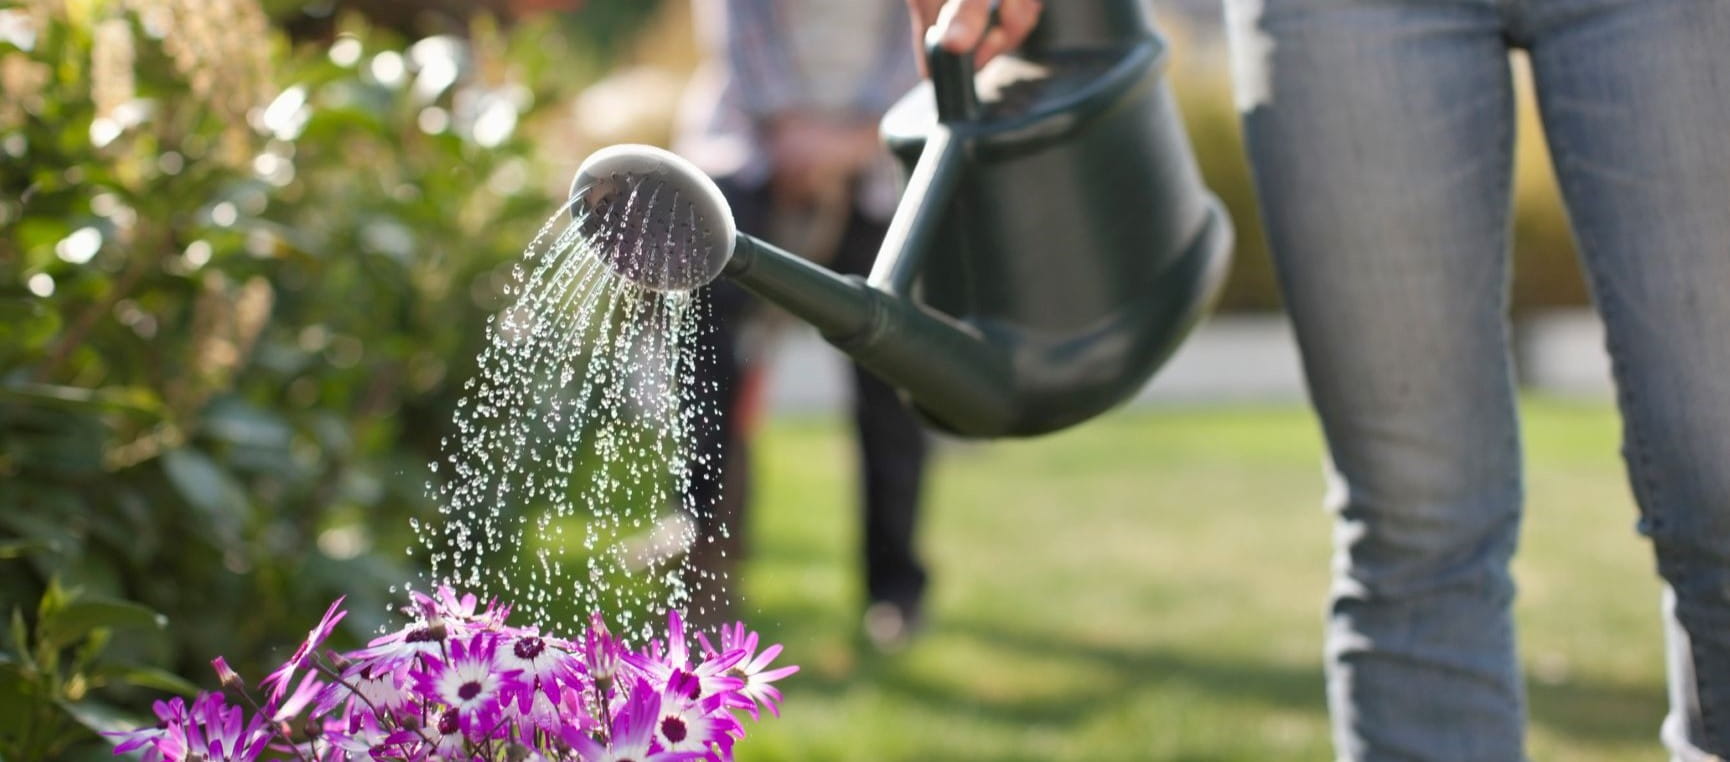
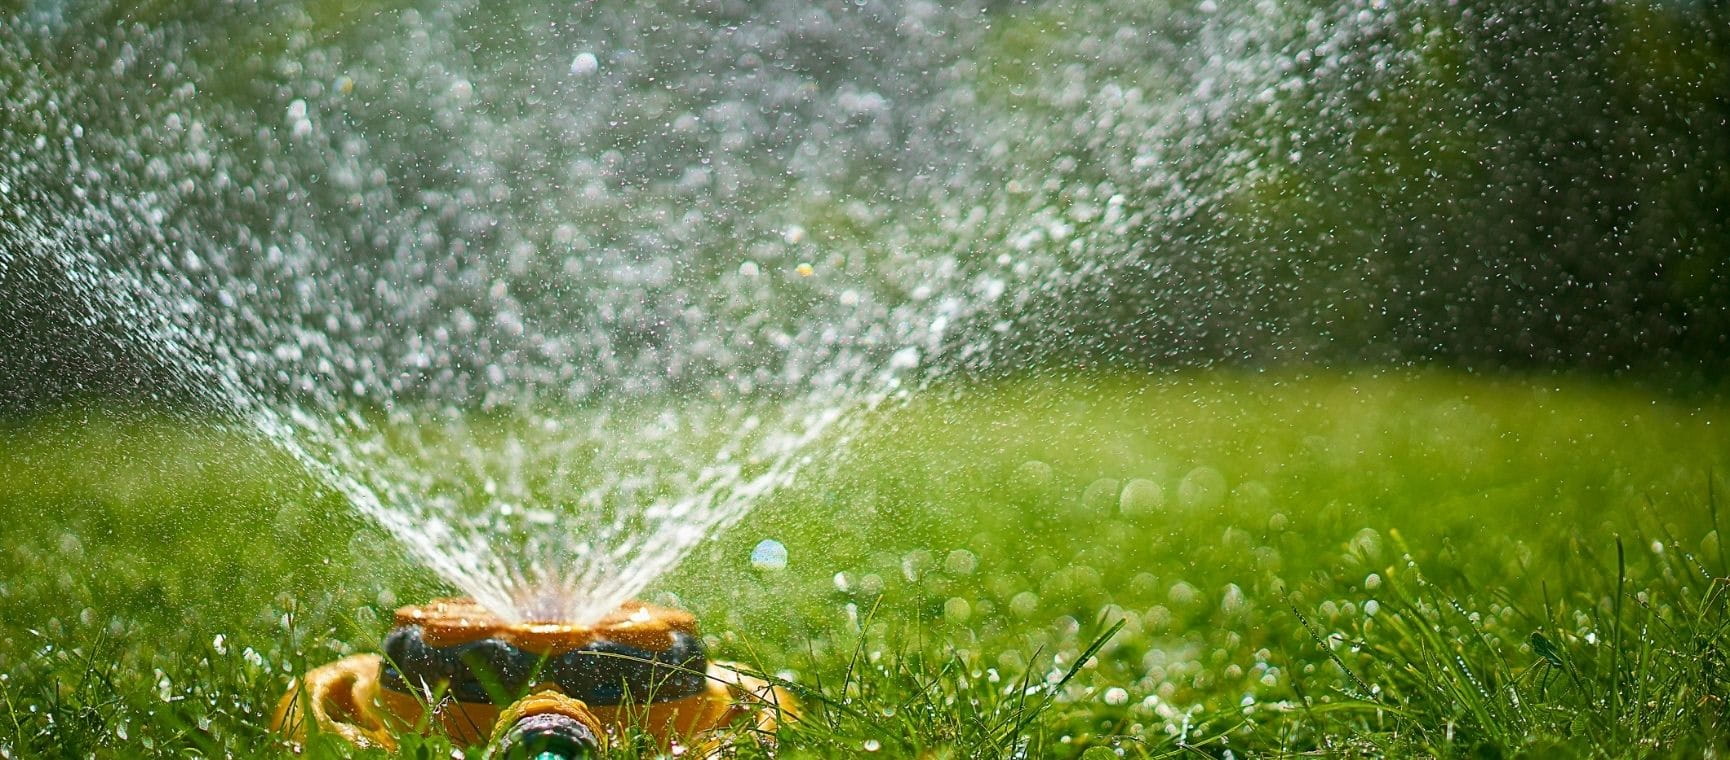
Easy ways to save water in the garden
15 water-saving tips will help you conserve water in the garden and help keep your plants looking their best.
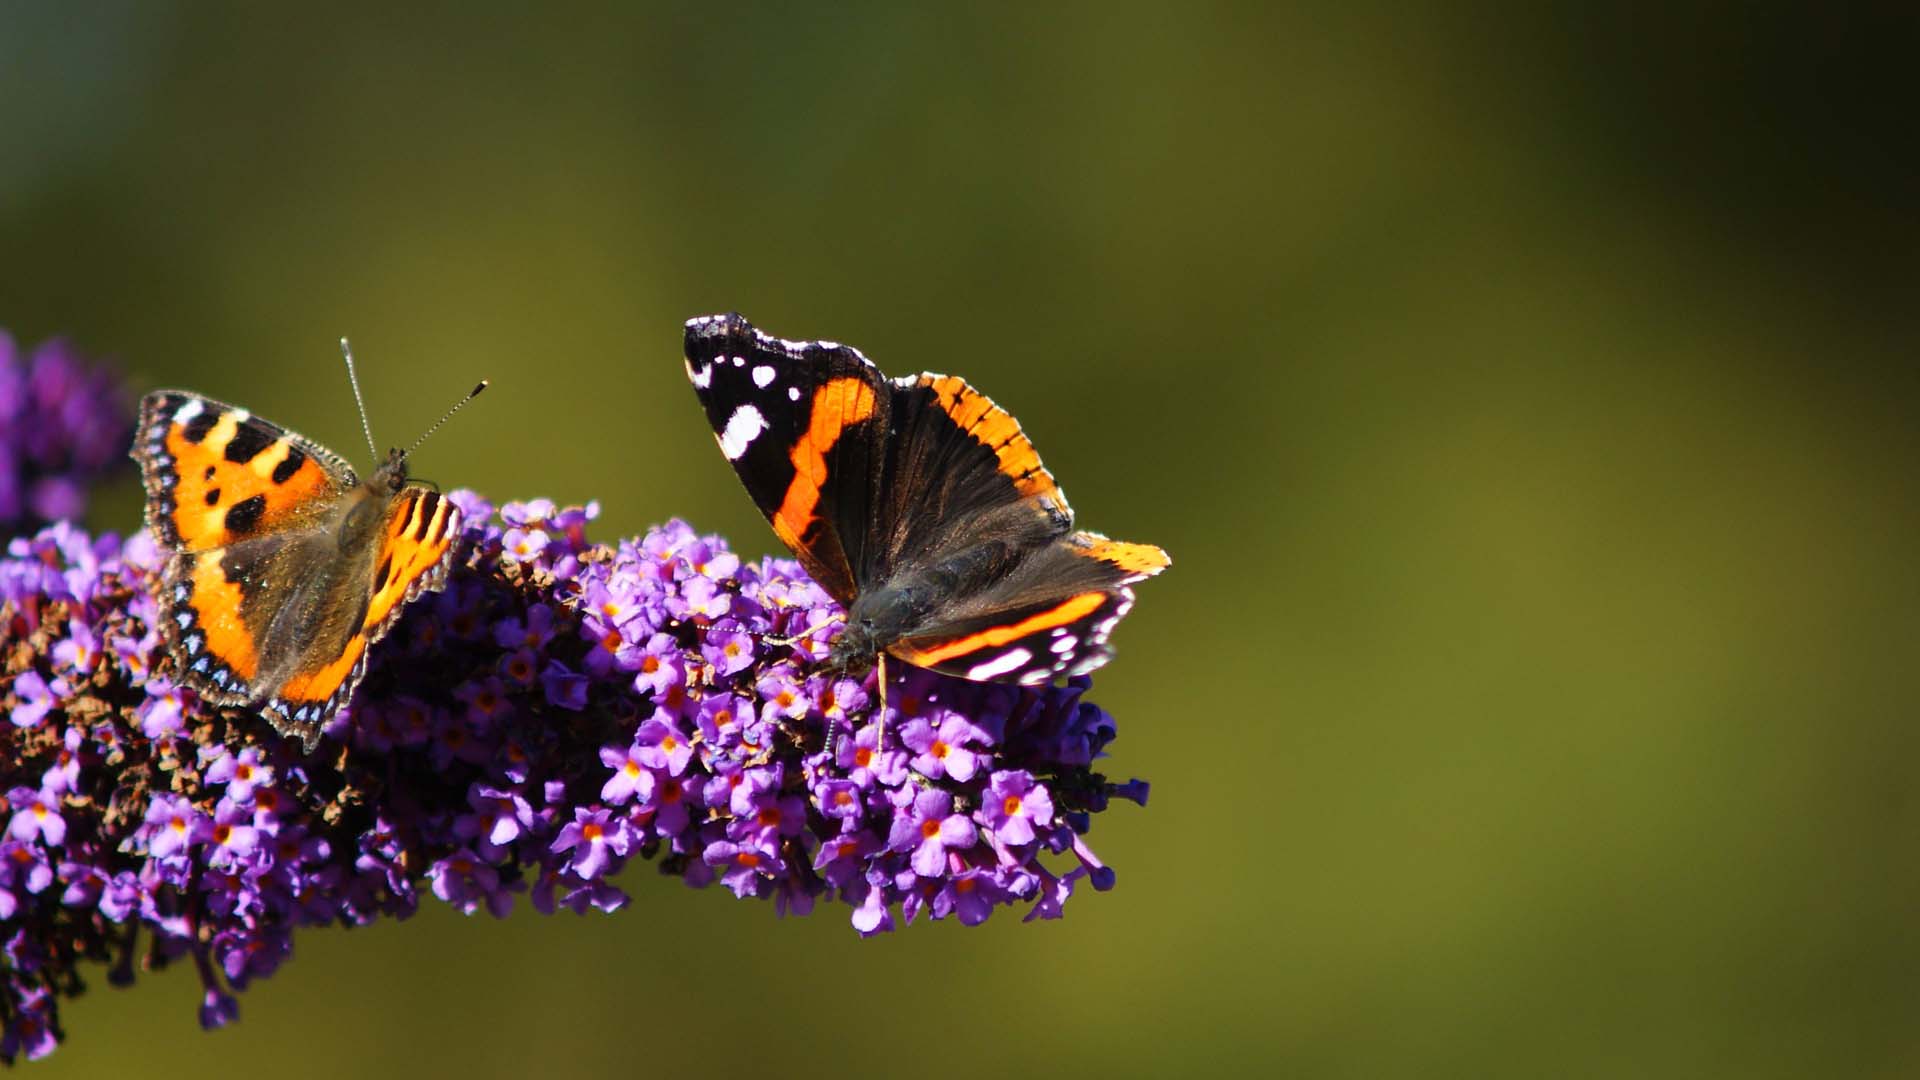
Britain's butterfly emergency - how you can help
Easy ways to help butterflies thrive in our gardens.
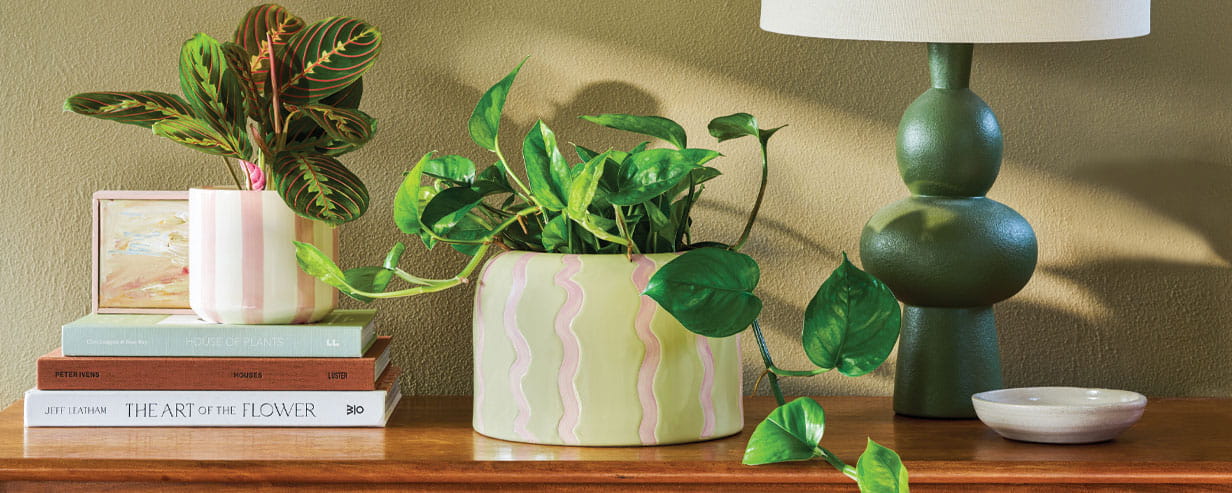
The 9 biggest houseplant care mistakes to avoid
Everything from the wrong water to bad positioning can harm houseplants. Here’s what not to do…
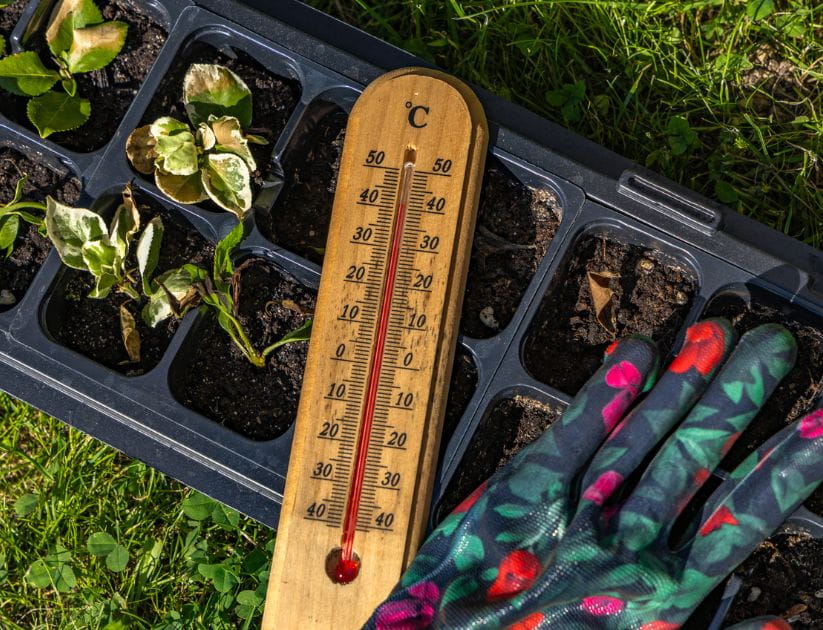
How to help your garden survive a heatwave
These expert tips will help your garden survive a heatwave and thrive in years to come.
Easy ways to save water in the garden
15 water-saving tips will help you conserve water in the garden and help keep your plants looking their best.

19 beautiful pick-your-own dahlia farms to visit this summer
These flower farms offer spectacular dahlias, expert advice and armfuls of blooms to take home.

Do you need to prune peonies?
From over-pruning to cutting too early, experts say you could be getting it wrong.
Why roses are easier to grow than you think
Experts say roses are one of the toughest and simplest plants to grow in our gardens.
The 9 biggest houseplant care mistakes to avoid
Everything from the wrong water to bad positioning can harm houseplants. Here’s what not to do…

How and when to harvest radishes so they taste their very best
With a clever tip from gardener David Domoney to guarantee you'll eat them at their prime.

This year, Saga is celebrating an incredible 75 years – and we’d love you to be part of the celebrations. For a limited time only, you can subscribe to Saga Magazine for just 75p an issue.
Receive the next 6 print editions delivered direct to your door, plus 6 months’ unlimited access to the Saga Magazine app – perfect for reading on the go.
Play our free daily puzzles
Beat the boredom and exercise your mind with our selection of free puzzles.