Gardens
Gardening and landscape design ideas to help you make the most of your outdoor living space.

10 ideas for getting your garden ready for spring
From protecting your fruit trees to clearing up winter waste, our top tips will prepare your patch for the season ahead.

Jobs to do in the garden in February
It may be cold, but there are essential jobs to be done in the garden in February to get ahead for spring.

Arit Anderson on the heartbreak behind her new Chelsea garden
The garden designer and TV presenter reveals why her mission to raise awareness of Parkinson’s through this year’s Chelsea Flower Show is so deeply personal.

Celebrate snowdrop season with 6 of the best places to see them

The best tools to make gardening easier
We’ve selected 7 of the best tools to lighten your load so you can keep gardening through every stage of life.

Give your garden shed a tidy - 5 steps to clean and declutter
Now is the perfect time to tidy and organise your shed - and get your pots and tools ready for the year ahead.

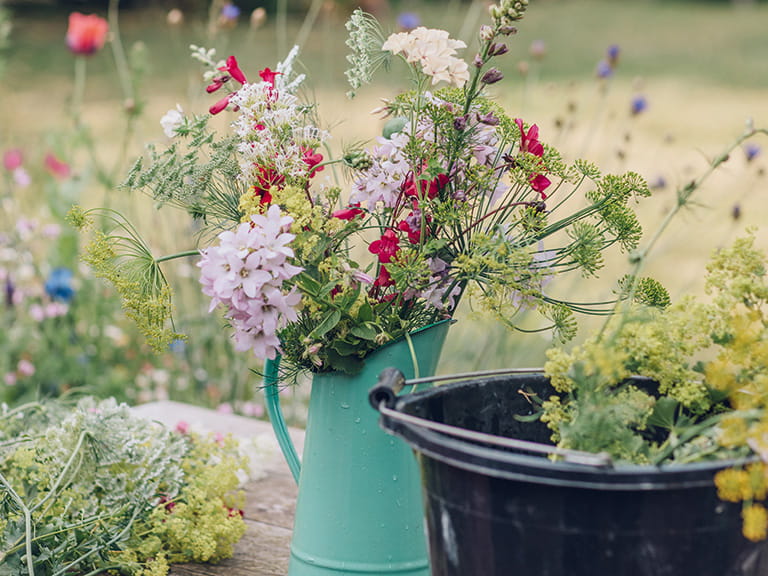
How to grow your own cut flowers - and enjoy beautiful guilt-free blooms

Save money in the garden season by season
We've got expert advice on how to make your gardening year creative not costly.

Jobs to do in the garden in August
These are the high-summer garden jobs you need to do now, from pruning hedges to harvesting fruit and vegetables.

13 outdoor kitchen ideas for year-round alfresco feasts
Our outdoor kitchen ideas come with expert design tips for easy alfresco dining.

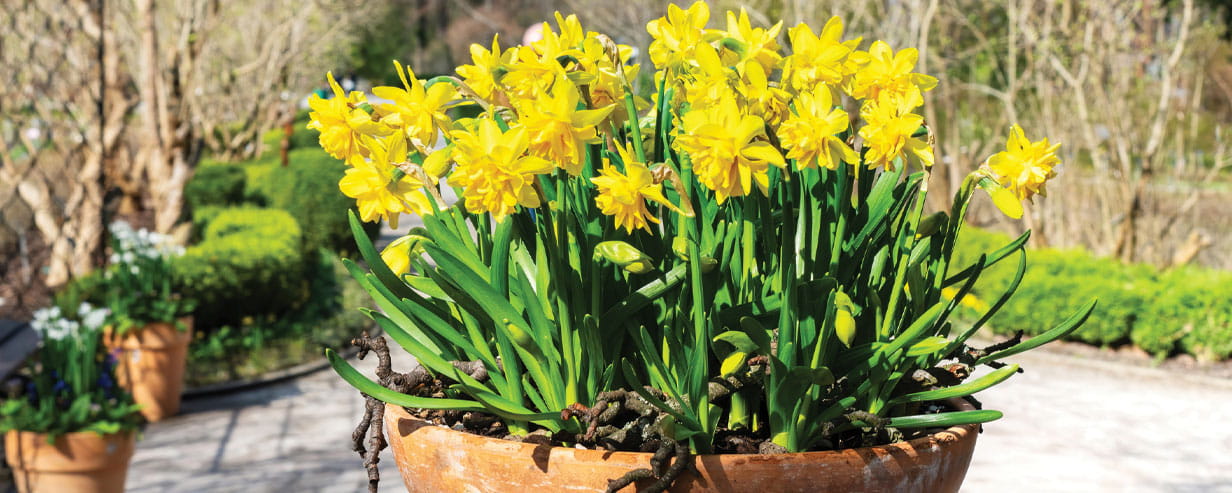
5 ways to help daffodils in a vase last longer
Daffodils in a vase can wilt sooner than they should - we've got 5 ways to help their spring cheer last as long as possible.

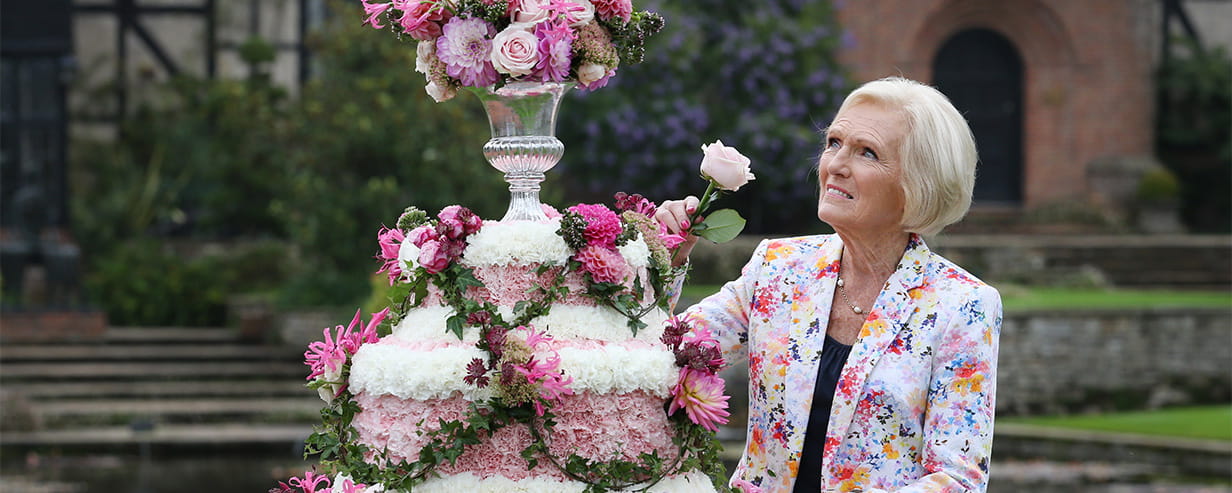
Review: My Gardening Life by Mary Berry
The national treasure’s love of green spaces shines through in her new gardening book.

The best tools to make gardening easier
We’ve selected 7 of the best tools to lighten your load so you can keep gardening through every stage of life.

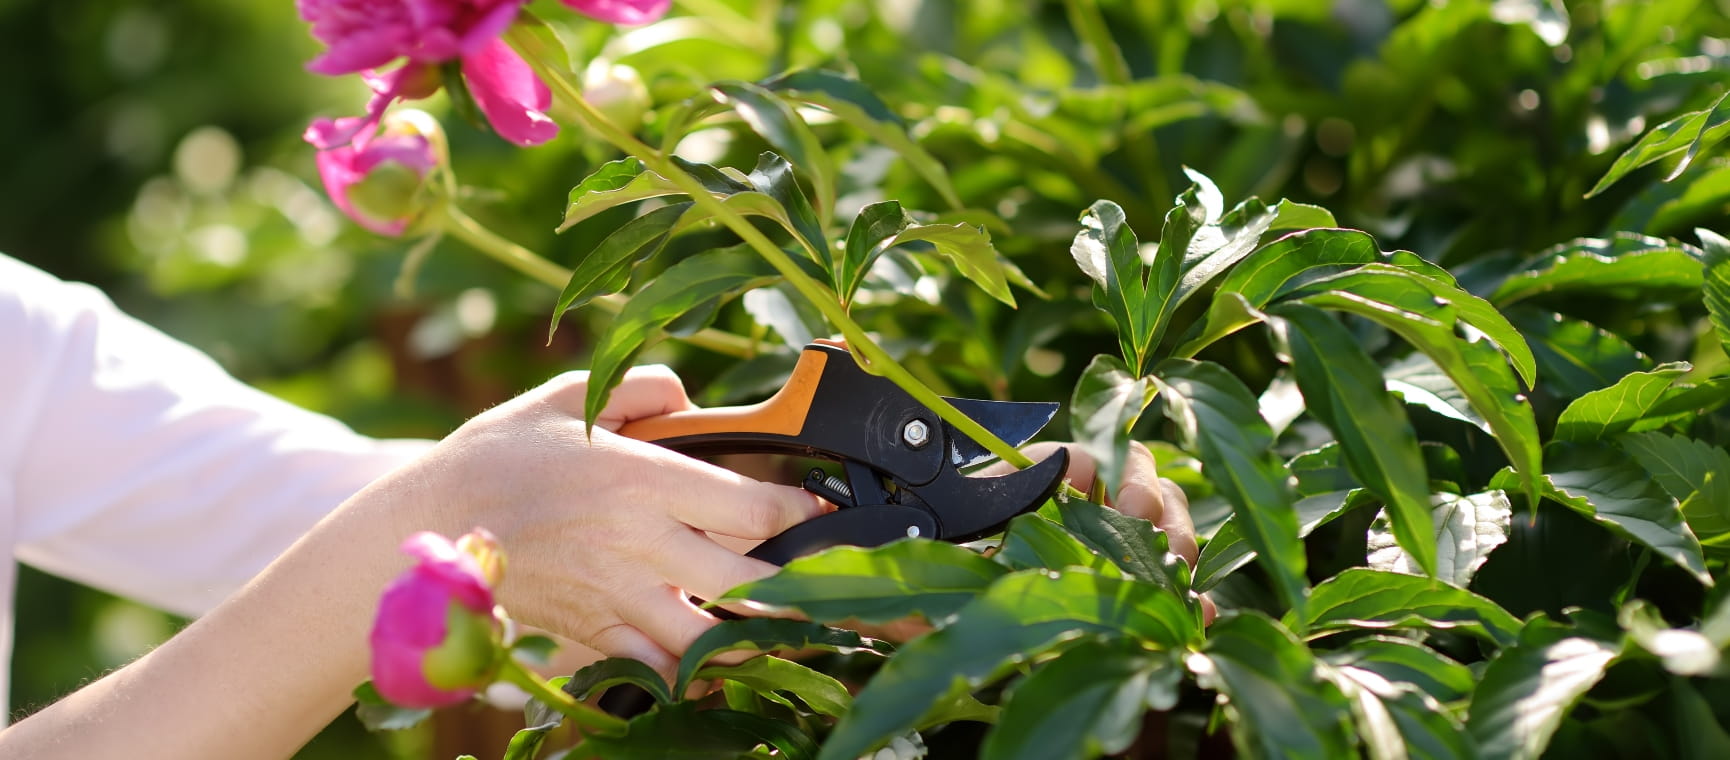
Why now is the best time to prune apple trees for bumper crops

For a limited time, enjoy 3 issues of Saga Magazine for just £1. Receive the next 3 print editions delivered direct to your door, plus 3 months’ unlimited access to the Saga Magazine app—perfect for reading on the go.
Don’t miss your chance to experience award-winning content at an exceptional price.
Play our free daily puzzles
Beat the boredom and exercise your mind with our selection of free puzzles.


