Skip to content
Back Back to Insurance menu Go to Insurance
Back Back to Holidays menu Go to Holidays
Back Back to Saga Magazine menu Go to Magazine
Search Magazine

Getting the vegetable garden going in spring

Val Bourne / 15 February 2018

If you’ve taken a winter break from the vegetable patch February and early March is the perfect time to get things going again – but patience is key when planning your spring planting.

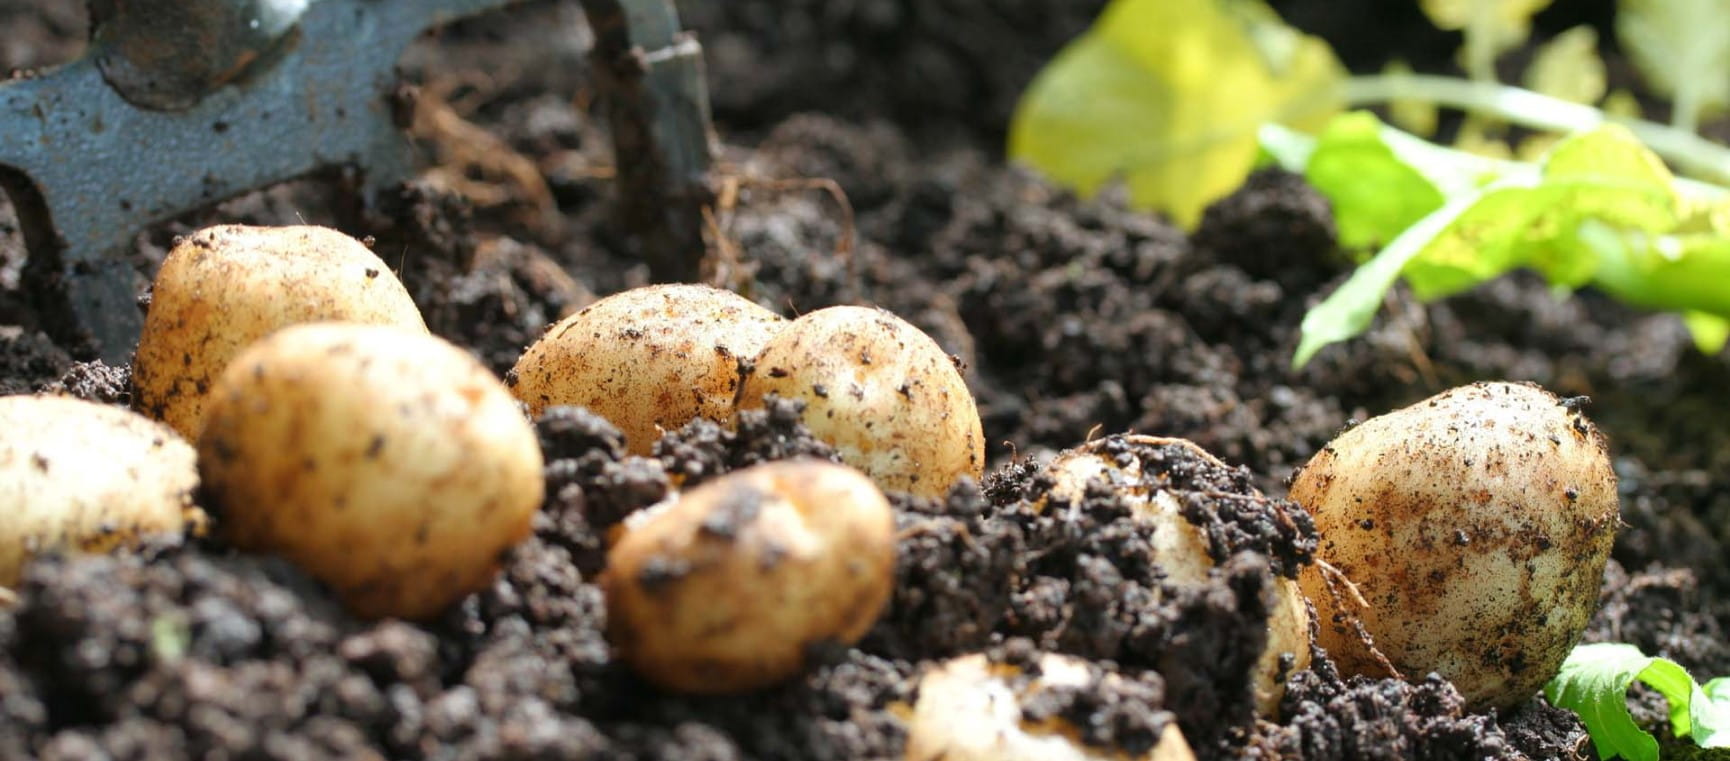
Spring vegetable garden
February and early March is the perfect time to get back out into the vegetable garden and start planning the year ahead

Growing your own fruit and veg makes perfect sense because you’ll be able to rush the food from plot to plate within minutes and that will ensure maximum vitamin content, texture and flavour. It will also save you money, whether you have small a raised bed or two, some containers, or a dedicated vegetable bed, so it’s a win-win situation. There is nothing like fresh, fresh food for free.

Choosing varieties

Only grow what you love to eat and go for acclaimed varieties. Many of these will have been awarded the AGM (the RHS Award of Garden Merit) and this is often depicted by a trophy logo. These varieties have outshone their rivals in extensive plant trials recently judged by experts. Don’t gamble on the word ‘new’.

For a full list of AGM fruit and vegetables see the RHS list (PDF).

Saga Home Insurance provides cover that goes beyond what you might expect. For more information and to get a quote click here.

Learn to read the weather

It’s very tempting to follow the instructions on the packet. However the weather varies across the country and in colder districts spring can arrive four weeks later or more. Wait for the weather and don’t blindly follow the instructions on the packet, because every year’s different.

Look out for:

  • Weeds be on the move
  • The lawn should be coming back to life
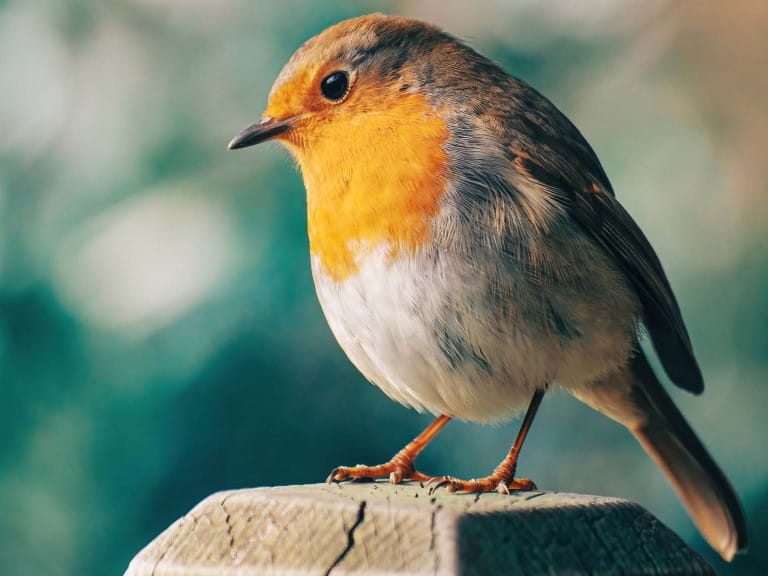
  • Many birds will be nesting
  • The bees will be busy

Don’t be seduced by cloudless March days. These may be very warm, but night-time temperatures will plummet and stop your seeds germinating. Good sowing weather should be ambient at night as well as in the day and that means cloud cover and rain, hopefully gentle rain.

The soil should be moist, not waterlogged, and you shouldn’t walk on it and compact the soil structure. Scaffold planks spread the weight in larger areas.

Patience is a virtue

So, err on the side of caution and wait for the correct weather, because crops sown or planted later catch up. Umbellifers, including carrots and parsnips, are very sensitive to temperature. They need temperatures close to 12C /55F in order to germinate well.

Is it hardy?

Hardy crops can withstand cold weather and these are the first crops to be sown and planted in March. Peas, broad beans, garlic and onions will survive.

If it’s not hardy

It can’t go into the garden until late-May or June, depending on where you live, because a frost will kill at worst, or check the growth at best. Either way they never recover. French beans, runner beans, courgettes, winter squash, tomatoes, peppers and aubergines are all tender. Potatoes are also frost-prone, so if they pop through the soil before late-May always fleece them on cold nights.

Chitting potatoes
Leave potatoes in a cool, airy location so they start to chit.

February vegetable garden tasks

1. Buy your first and second early potatoes

Lay the seed potatoes on egg boxes in a cool airy place, so that they chit and produce compact shoots from the eyes. The tubers must be kept frost-free and out of the reach of mice and rats. Chitting produces an earlier crop with early varieties. Maincrops do not benefit.

Early potatoes take roughly 20 weeks to mature and can be harvested from early July onwards. They are generally out of the ground before potato blight strikes in early August, so grow these in preference to maincrop varieties.

Plant earlies in the second week of April. Place each tuber 30cm (12in) apart in rows 60cm (24 in) apart.

Good early potato varieties

‘Foremost’ AGM
White, firm, oval tubers
‘Red Duke of York’ AGM
Red-skinned, floury and yellow
‘Accent’ AGM
Yellow, round potatoes. Excellent eaten cold
‘Jazzy’ AGM
Waxy, productive salad potato
‘Lady Cristl’ AGM
Always early. Creamy firm-textured tubers
‘Nadine’ AGM
Handsome, waxy, cream potato used for exhibition
‘Charlotte’ AGM
Yellow-skinned, waxy tubers. First-rate flavour
‘Belle de Fontenay’
Heritage French potato which can also be a maincrop

Find out how to grow potatoes

2. Prepare for sowing

Wash all your pots and seed trays because hygiene is important in seed sowing and this is one of few times of year when you can tackle it. Brush the debris off trays and pots and wipe over with a damp cloth and immerse each pot in a bowl of hot water and then take up the scourer - allow yourself a dab of washing up liquid. Lay the trays outside on a bright day, rinse them with a hose and allow them to drain and dry before stacking them.

Rake over the ground where crops are to be sown, to create a fine tilth.

If you do any digging allow the ground to settle for a week before you do any planting or sowing.

Visit our soil improvement section for tips on preparing your soil for planting

3. Stock up on sundries

Early spring is the best time to buy pens, labels, strings and cane - before they go.

4. Buy the correct compost

John Innes is a recipe, not a brand, and it contains some soil or loam and therefore dries our far less than lighter peaty composts.

Seed sowing compost has little or no nutrient content and that’s what seedlings like. Always invest in it.

John Innes number 1, 2 and 3 refer to nutrient levels in the John Innes recipe. No I has the least and No 3 the most. Basically the larger the plant the more feed is needed so the higher the number. Compost nutrients ONLY last an average of 4 - 6 weeks and then you must either pot on or feed.

Buy from a garden centre that keeps its compost undercover, to prevent waterlogging, and when you open a packet try to stir the compost through your fingers to add more air.

What to do under glass in February or March

If you’re lucky enough to have a greenhouse or propagator it’s a huge help because you can produce your own plants far more cheaply. The Vitopod Propagator (from Greenhouse Sensation - www.greenhousesensation.co.uk) has a version that comes with lights so it could be used in the house.

1. Sow leek seeds

This very hardy vegetable can germinate in cool conditions and once the seedlings are up you don’t have to worry about cold nights.

Watering is key because all members of the allium or onion family are shallow-rooted. They cannot seek out moisture from the depths, so the leeks, shallots, onions and garlic can dry out easily early on. If young leeks become water-stressed they tend to bolt or run to seed, so it’s vital to keep your seedlings damp. Members of the beet family, including chard, beetroot and spinach, also enjoy spring moisture and may bolt in dry, cool springs.

Use 6 x 4 modular trays and place two leek seeds in each one and then weed out the weaker seedling if necessary.

Keep your leek seedlings out of direct sunlight in the greenhouse. Leeks can also be sown straight outside into the ground if you wish, but not until mid-March at the earliest.

Once the young leek plants are five to six inches high (15cm) they are ready to go outside.

Make a deep hole with a dibber and drop one leek plant in each and then fill the hole with water.

Each hole needs to be six inches deep (15 cm) with nine to twelve inches between each (22 - 30 cm). Rows should be between twelve and fifteen inches (30 - 38 cm). Wider spacings help air flow helping to prevent diseases like rust.

The tops and roots do not need trimming.

Most of the growing takes place in late-summer and autumn and leeks are invaluable - they come through the hardest winters unscathed.

Good leek varieties

Choose a good F1 variety for early sowing - the seeds germinate better.

‘Oarsman’ AGM
An excellent F1 hybrid leek that’s stands well throughout winter.

‘Carlton’ AGM
An earlier F1 variety producing mid to dark-green flags, although ‘Carlton’ bolts more easily than some - so it’s not for dry gardens.

‘King Richard’ AGM
An early variety producing pale-green leeks - resists bolting well.

‘Apollo’ AGM
Vigorous plants with attractive dark green leaves that fan out from a thick white shank. Ready from mid-late winter and resistant to rust.

Find out how to grow leeks

2. Sow broad beans under glass

Raise your broad bean plants under glass ready for planting out in March or early April. The cooler temperatures will encourage good root systems. Use modules (sectioned-off seed trays) that fit large seed trays: the 24 size (6 x 4) is ideal. Place the module into the seed tray and fill with seed sowing compost. Press one seed into each and water the whole tray well. Cover with wire if you have a mouse problem because these large seeds are a lure!

Once the young beans reach two inches in height plant them out as soon as possible, before the long radical root gets tangled up in the hole at the bottom of each module.

Space them out, one plant every 9 inches (22 cm) with one foot (30 cm) between a double row. Put a series of canes round them and add some supporting string to avoid them flopping over other crops. Always top your canes with a cap or a small flower pot to protect your eyes from damage when you pick.

Broad beans are self-fertile, but the yield is much higher when bumble bees pollinate them. Wet or inclement weather can reduce your crop.

Good long pod spring-sown broad bean varieties

‘Jubilee Hysor’ AGM
Prolific cropper and highly reliable broad bean with six to eight lime-green beans in each pod. Windsor bean flavour.

‘Masterpiece Green Longpod’ AGM
Slender pods filled with small green beans, good for freezing but smaller yield than ‘Imperial Green Longpod’. Not such a strong flavour.

‘Imperial Green Longpod’ AGM
Good green colour to the beans, so ideal for freezing. Popular and reliable with 9 beans per pod.

‘Meteor’ AGM
An early crop with well-filled pods of pale-green beans.

Find out how to grow broad beans

3. Sow three varieties of lettuce

Sowing three different types of lettuce, a loose-leaf ‘pick and come again’ variety like ‘Salad Bowl Mixed’ , a small hearting lettuce such as ‘Little Gem’ or its red-leaved equivalent ‘Dazzle’ and a slower maturing Cos lettuce like ‘Lobjoits Green’ extends the picking season to two months at least.

Always use fresh packets of seeds with the correct date because lettuce has a short period of viability – three years at most. Write out the labels before you start and fill the seed trays to within 1cm (½in) of the rim. Water well with tap water before sowing. Sprinkle the large seeds very thinly and cover lightly with a fine layer of compost. Place in a cold frame, or in an unheated greenhouse, or on a cool windowsill. Ideally, seeds will germinate within 6–14 days in reasonable temperatures.

Prick out when two proper leaves show and then plant outside once large enough. Repeat the process every 4 weeks until late July to ensure a long supply of salad leaves.

Good lettuce varieties

‘Little Gem’ AGM
The best early small lettuce. It hearts up well.’Dazzle’ is the red form.

‘Salad Bowl Mixed’ AGM
An oak-leafed lettuce with decorative green and red leaves - pick individual leaves as and when.

‘Lobjoit’s Green Cos’ AGM
Large, crisp, green-leaved Cos. Suitable for spring and autumn sowing.

‘Nymans’ AGM
A medium-sized, shiny-leaved, red Cos lettuce. Slow to bolt.

Find out how to grow lettuce

Watering under glass

If investing in some new seed trays choose smooth-sided and flat-bottomed ones with no deep indentations. Make sure there is no lip on the edges as well. This plain type of tray makes it harder for slugs to sleep under or near your seedlings.

Clean watering cans. Have at least three, if you can, and get used to filling them with mains water, not water from a butt, as soon as they’re empty. Allow your cans to stand for a few hours, to warm the water up and release any chlorine. Use a fine rose, that points upwards and emulates light rain, and always try to water before midday. Ventilate and then close before dusk, always making sure that all watering cans are full.

Don’t over water seedlings - put your index finger in and sense how damp the compost is.

Find out about Saga Home Insurance

What to do outside in February

1. Plant softneck garlic

Garlic is another shallow rooted member of the allium family so it needs lots of water in its early stages to crop well. It also needs sun to swell the bulb, so find a warm, sunny position.

There are two types of garlic - softneck and hardneck.

Softnecks produce plump, white bulbs and, if planted now, they can be harvested from mid-July and will keep until April. They tend to bulb up as the days shorten after the summer solstice.

Hardneck cultivars produce an edible flowering stalk (or rocambole) and this needs to be snapped off to encourage the bulb to swell. Hardnecks are planted in September and October and are harvested in June and generally store until January.

The planting technique is the same for both. Break the bulb into cloves just before planting and place the individual cloves an inch or two below the soil roughly six inches apart. Lift and harvest as soon as the leaves begin to yellow.

Good softneck garlic varieties for February sowing

‘Solent Wight’ AGM (from the Auverne in France)
The most robust garlic in terms of overall eating and keeping. Large, dense white bulbs with a good flavour. The easiest garlic to plait.

‘Tuscany Wight’ (from Tuscany)
Large fat cloves all the way round the bulb. Italian flavour - good with chicken and lentils -classic Umbrian cooking.

‘Venetian Wight’ (from the Po Valley in Italy)
Small hard, white garlic that will keep until spring. Intense and quite hot.

‘Provence Wight’ (from the Drome Valley in Provence)
Grows well in Britain and the fat, juicy cloves are perfect for adding some Mediterranean flavour to vegetable and fish dishes. (can also be autumn planted)

Find out how to grow garlic

2. Force, plant or divide rhubarb

In February there is still time to force rhubarb crowns by covering them with purpose-made terracotta forcers or upturned dustbins full of straw. The dark, warm conditions inside force the stems into premature growth, producing soft, pale-pink stems that have a champagne flavour when cooked.

It’s also a good time to divide them just as the large, dome-like buds are breaking dormancy. Lift the whole crown and, using a spade, split into chunks containing 4 -5 buds. Replant in enriched soil containing garden compost, making sure that the top of the clump is just above the ground. Do not pick any stems in the first year or two and always remove any flowering spikes.

Plant new crowns now when the soil isn’t frozen. Choose a sunny site and mulch round the crowns, with well-rotted compost or straw, to keep moisture in. Don’t pull any stems until the second year of growth. The technique is to pull and then twist very gently from the lower stem. Stop harvesting at the end of May to allow tour the plants to recover.

Good rhubarb varieties

‘Timperley Early’ (early) AGM
So early, it’s probably better not to force it. The slender, long pink-red stems have a tart flavour that makes it an excellent crumble filler. Not a prolific cropper - but a must for all rhubarb lovers.

‘Raspberry Red’ AGM (mid to late-season)
An old Dutch Variety recently reintroduced with sweet red stems. Heavy cropper, for a sunny, open position.

‘Hawke’s Champagne’ AGM (early to mid)
Delicately thin, long, scarlet stems with a sweet flavour from early Spring. An old variety, but easy to grow and ideal for forcing. Attractive to look at.

Find out how to grow rhubarb

3. Plant shallots

Traditionally shallots are planted on the shortest day (around December 21st) and harvested on the longest, close to June 21st, because they take 24 to 26 weeks to mature. You also get good results from February plantings which can be harvested in August. Water in the early stages if the weather’s dry. The flavour of shallots is subtler and more aromatic than onions, so they are well worth growing especially for the keen cook.

The foliage splays outwards as the cluster of shallots forms and you should get between seven and nine babies per set. Choose a sunny position and plant them 9 inches (22 cm) apart in rows 9 inches (22 cm) apart. Leave the upper third of the bulb showing because shallots are more prone to rotting in damp soil.

Good shallot varieties

There are red and yellow varieties and, just like onions, the yellow ones are the easiest to grow and also store for longer. Red varieties of shallot and onion are sown 3 -4 weeks later.

‘Golden Gourmet’ AGM
The heaviest cropping golden ball-shaped shallot - producing substantial bulbs.

‘Pikant’
The best red, with lots of layers of brown-red skin. Good flavour and very rounded shape. A Dutch variety.

‘Longor’ AGM
A long slender ‘Jersey long’ shallot with golden skin, almost pear-shaped, with a strong flavour.

‘Jermor’ AGM
Copper-coloured long shallot, widely grown commercially in Brittany in France, with pink-tinted flesh and good flavour.

How to grow shallots

4. plant onion sets

It’s also time to plant onion sets and the first job is to trim off the little wispy tops with a small pair of scissors, otherwise the birds will tug them out. Onions should take 20 weeks to reach maturity and there are two types of onion sets - heat-treated and plain. The more-expensive heat-treated sets are planted in April or May and they rarely bolt, in drier parts of England.

Space your sets six inches apart (15 cm) in rows nine inches apart (22 cm). Push each set into the ground so that the tip is at ground level and use lines to keep the rows straight. It’s essential to keep down the weeds with a small onion hoe, because shallots and onions are both shallow-rooted and can’t cope with competition.

Red-skinned varieties should be planted three weeks after the golden-skinned varieties because they prefer warmer conditions.

Good onion varieties

‘Marshalls Red Fen’ AGM
A real improvement on ‘Red Baron’ and a new variety that did really well for me last year.

‘Sturon’ AGM
Globe-shaped yellow-brown onion with juicy flesh. Produces rounded medium-sized bulbs quickly. Rarely bolts.

‘Stuttgarter’ AGM
Flat-shaped, yellow skinned bulbs. Onion Stuttgarter Giant produces excellent yields and keeping properties.

Find out how to grow onions

5. Sow maincrop peas

Maincrop peas can be sown now once the soil has warmed up. Opt for wrinkle-seeded varieties. These taste far sweeter than the early round-seeded varieties. Put a few mangetout peas at the end of your row to provide an earlier taster. ‘Delikata’ is excellent.

When sowing your peas take heed of the old adage ‘One for the mouse, one for the crow, one to rot and one to grow’ and use lots of seeds. Make a 22.5cm (9in) wide shallow trench and zigzag the seeds across the trench from side to side. Cover the seeds with 2.5cm (1in) of soil and then cover the soil with wire netting to keep birds and mice away.

Add twiggy supports straight after sowing – hazel twigs are best – setting them along each side of the trench, about 20cm (8in) apart and at an angle so that their tops meet over the trench and the pea shoots will weave through them.

Peas like cool, moist conditions and often do best in cooler summers. A July sowing often does very well.

Good maincrop pea varieties

‘Jaguar’ AGM
Ready after a hundred days with short pods containing seven peas.

‘Dorian’ AGM
Long pods containing nine well-flavoured peas.

‘Cavalier’ AGM
British-bred, with pairs of long, straight pods containing nine peas. Good flavour.

‘Hurst Green Shaft’ AGM
Tried and tested heavy-cropper that produces long easily picked pods. Rarely fails.

Find out how to grow peas

Planning your spring vegetable plot

What to do in March

Sow carrots, beetroot and parsnips if the weather’s improving. Use wide four-inch drills.

Sow tomatoes, peppers and aubergines under glass and pot up.

What to do in April

Sow all cucurbits in pots - such as winter squash, cucumber and courgette. Plant outside in June.

Sow winter brassicas such as Brussels sprouts, sprouting broccoli and winter cabbage for planting outside in May.

What to do in late April and May

Sow runner beans under glass from mid-April onwards, or straight outside in the first half of May.

Try 12 issues of Saga Magazine

Subscribe today for just £34.95 for 12 issues...

Disclaimer

Saga Magazine is supported by its audience. When you purchase through links on our site or newsletter, we may earn affiliate commission. Everything we recommend is independently chosen irrespective of affiliate agreements.

The opinions expressed are those of the author and are not held by Saga unless specifically stated. The material is for general information only and does not constitute investment, tax, legal, medical or other form of advice. You should not rely on this information to make (or refrain from making) any decisions. Always obtain independent, professional advice for your own particular situation.