Homes
Practical advice, real-life reviews and design inspiration to help you create the home you’ve always wanted.

How to heatwave-proof your home
The home improvements that can make a real difference during heatwaves.

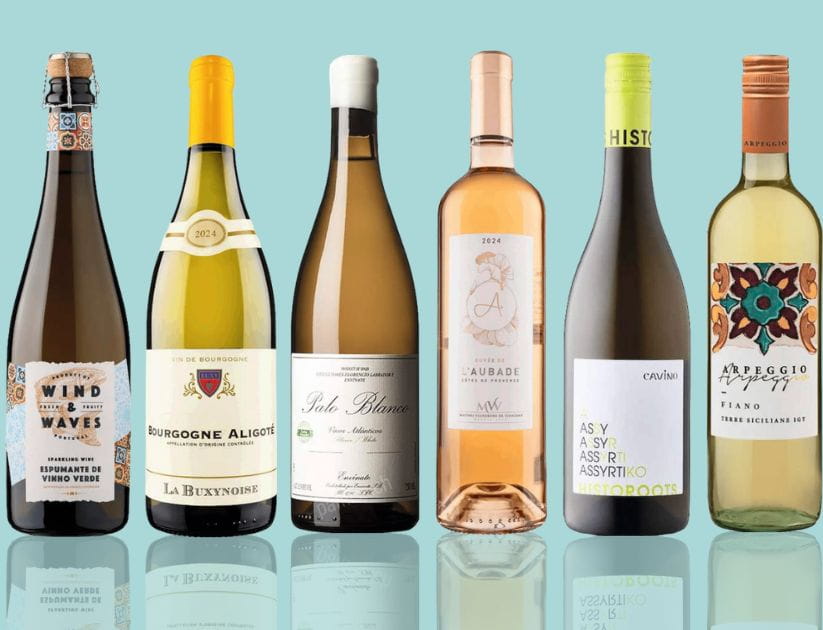
The best wines for summer spritzers
It’s hard to beat a refreshing spritzer on a warm, sunny day. Our expert shares his best wines for mixing.
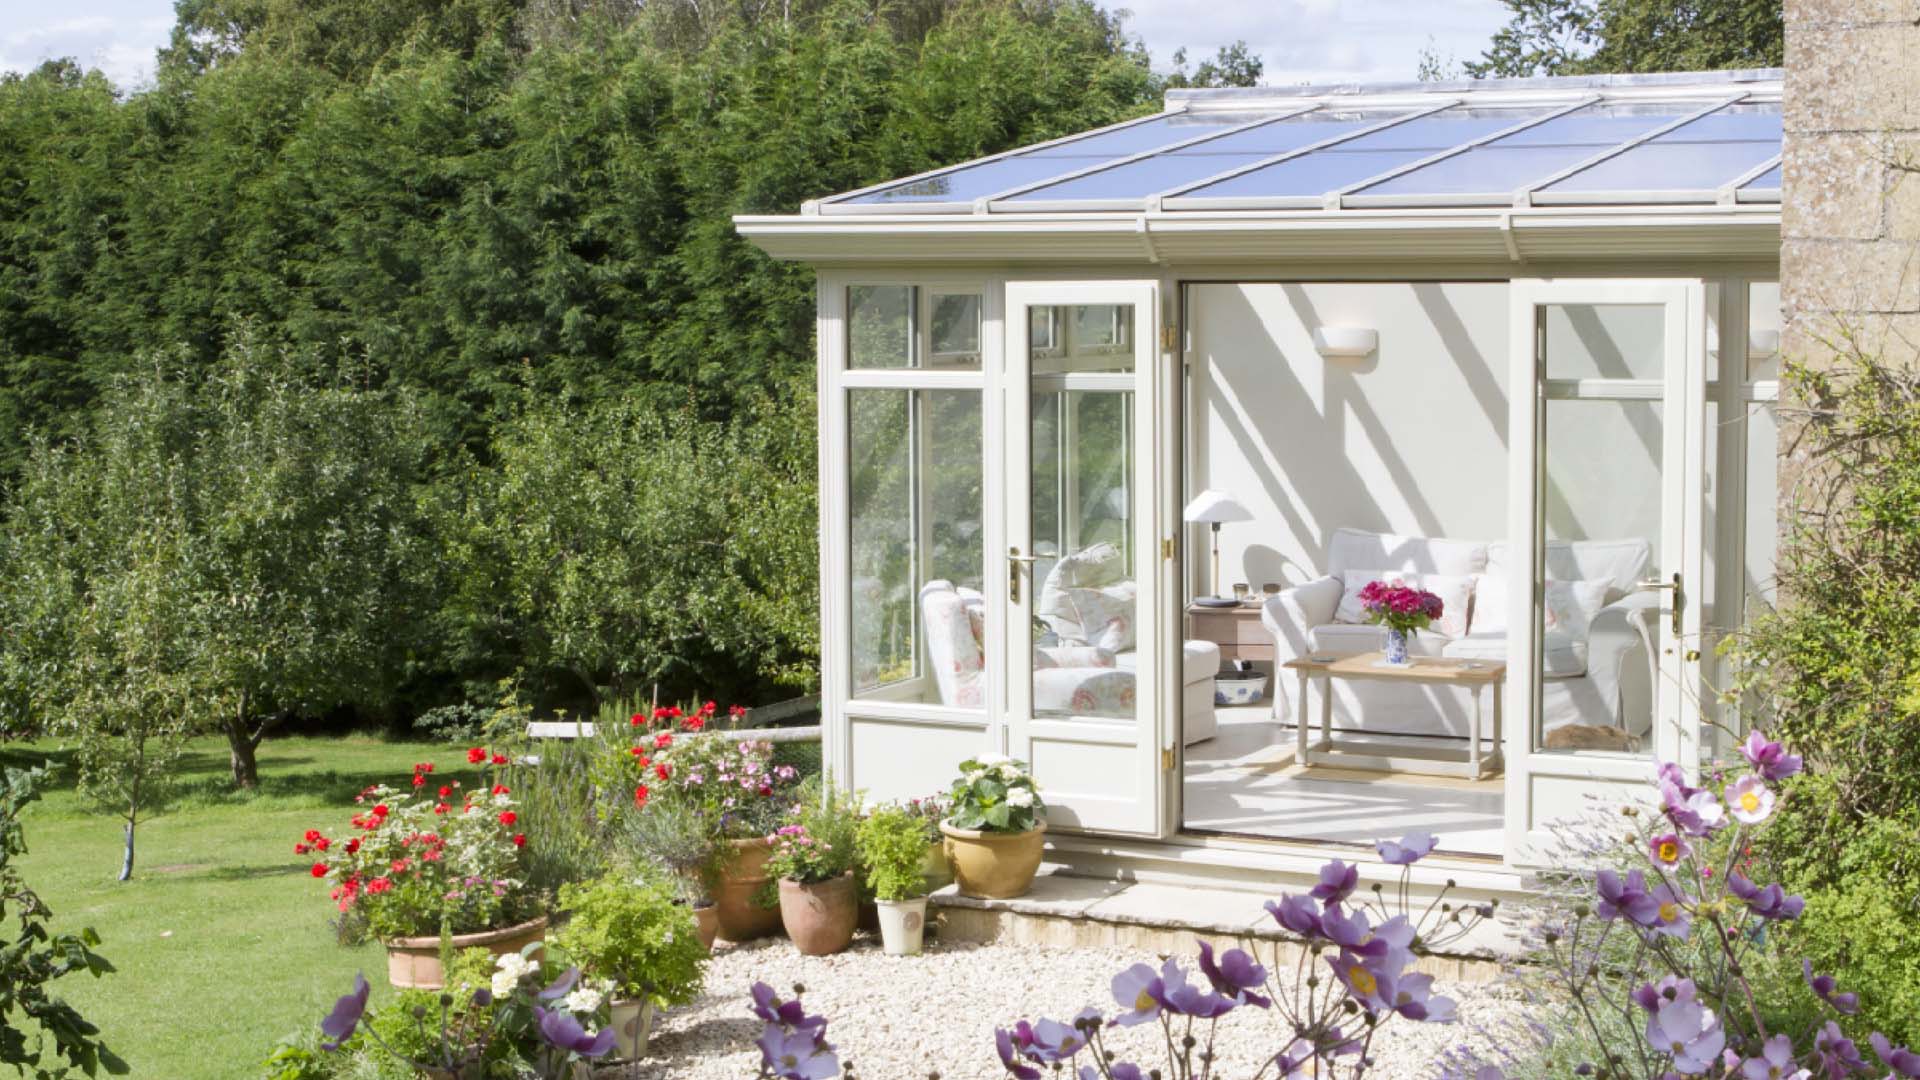
10 conservatory blind ideas - dress your windows in style
Keep the heat out of your conservatory with our stylish blind ideas.

The best frozen chips: tried and tasted
We tested the popular supermarket frozen chips to discover which deliver the crispiest, fluffiest results.


How to future-proof your home for later life
Expert upgrades to make your home safer, more comfortable and easier to live in – without compromising on style.
How to recreate your favourite holiday wine at home
Our wine expert on why they never taste the same - with what to drink instead.
How to future-proof your home for later life
Expert upgrades to make your home safer, more comfortable and easier to live in – without compromising on style.
How to heatwave-proof your home
The home improvements that can make a real difference during heatwaves.
The best frozen chips: tried and tasted
We tested the popular supermarket frozen chips to discover which deliver the crispiest, fluffiest results.

The surprising wine mixers that really work
Ice cubes in wine? Lemonade with Rioja? The unexpected combinations worth trying this summer.

Appliances you should always unplug before going away
Stay safe and save money, the electrical items you need to unplug and the ones to keep connected.
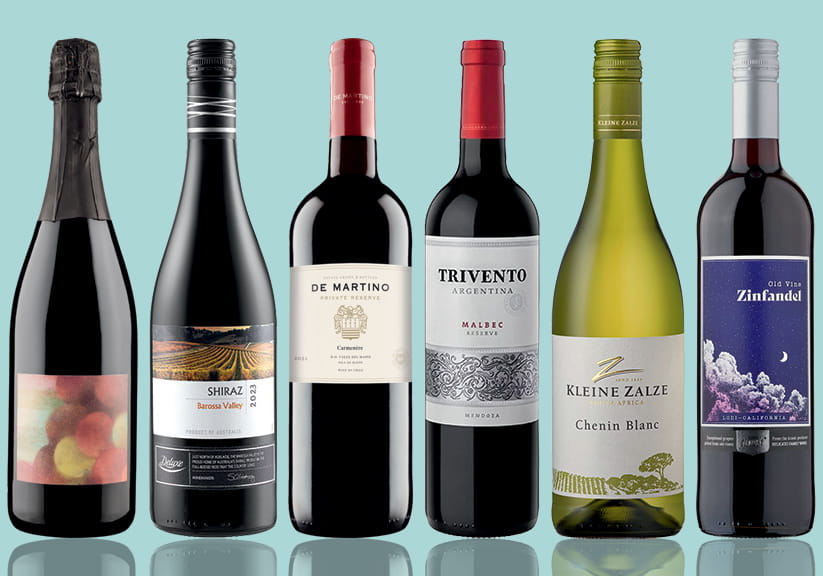
The best wines to drink with a summer barbecue
Our expert shares sizzling wines to enjoy with BBQ food, whatever your budget.

This year, Saga is celebrating an incredible 75 years – and we’d love you to be part of the celebrations. For a limited time only, you can subscribe to Saga Magazine for just 75p an issue.
Receive the next 6 print editions delivered direct to your door, plus 6 months’ unlimited access to the Saga Magazine app – perfect for reading on the go.
Play our free daily puzzles
Beat the boredom and exercise your mind with our selection of free puzzles.