Skip to content
Back Back to Insurance menu Go to Insurance
Back Back to Holidays menu Go to Holidays
Back Back to Saga Magazine menu Go to Magazine
Search Magazine

How to press flowers

Adrienne Wyper / 13 February 2017 ( 02 April 2020 )

Find out how to press flowers to preserve beautiful colour for use in cardmaking and other craft projects.

Pressed flowers
Preserve beautiful spring flowers by pressing them to use in craft projects

People have been pressing flowers for centuries. It’s a quick, easy – and pretty – craft. Pressed flowers make a lovely keepsake of a special occasion, like wedding buttonholes or brides’ or bridesmaids’ bouquets. If making them with children do tell them that the colours will fade a bit, so they’re not disappointed.

Saga Home Insurance provides cover that goes beyond what you might expect. For more information and to get a quote click here.

How to press flowers

You will need:

  • Flowers, stems and leaves (clean and dry)
  • A ready-made flower press OR the following:
    • 2 pieces of non-glossy white paper
    • 2 pieces of tissue paper
    • A newspaper
    • A heavy book

Ready-made flower presses are available from craft shops, but you can simply use a book.

As well as flowers, you can press leaves and stems, and sprigs of smaller flowers. 

To dry the flowers using a book, take two pieces of smooth, white paper (not glossy) and two sheets of tissue paper. Put a sheet of tissue paper on top of one of the sheets of white paper. Lay out your flowers, leaves or stems, making sure they are well spaced out.

Lay another tissue and a another sheet of non-glossy paper on top of the flowers and place inside the fold of a newspaper, or similar.

Place a heavy book on top and leave for five to seven days, until the flowers are flat and the moisture has been removed.

If you plan to make pictures with petals, it’s easier to pull them off the flower first, and press them individually.

If using a ready-made press simply unscrew the top, remove some of the paper and place your flowers inside, then replace the paper and top and screw back up again.

Saga Home Insurance provides cover that goes beyond what you might expect. For more information and to get a quote click here.

Choosing flowers to press

As the flowers will end up squashed flat, it’s best to choose flowers that are naturally flat, such as pansies, daisies, violets, dahlias and open-shape roses, as well as those that have a single layer of petals, such as delphiniums.

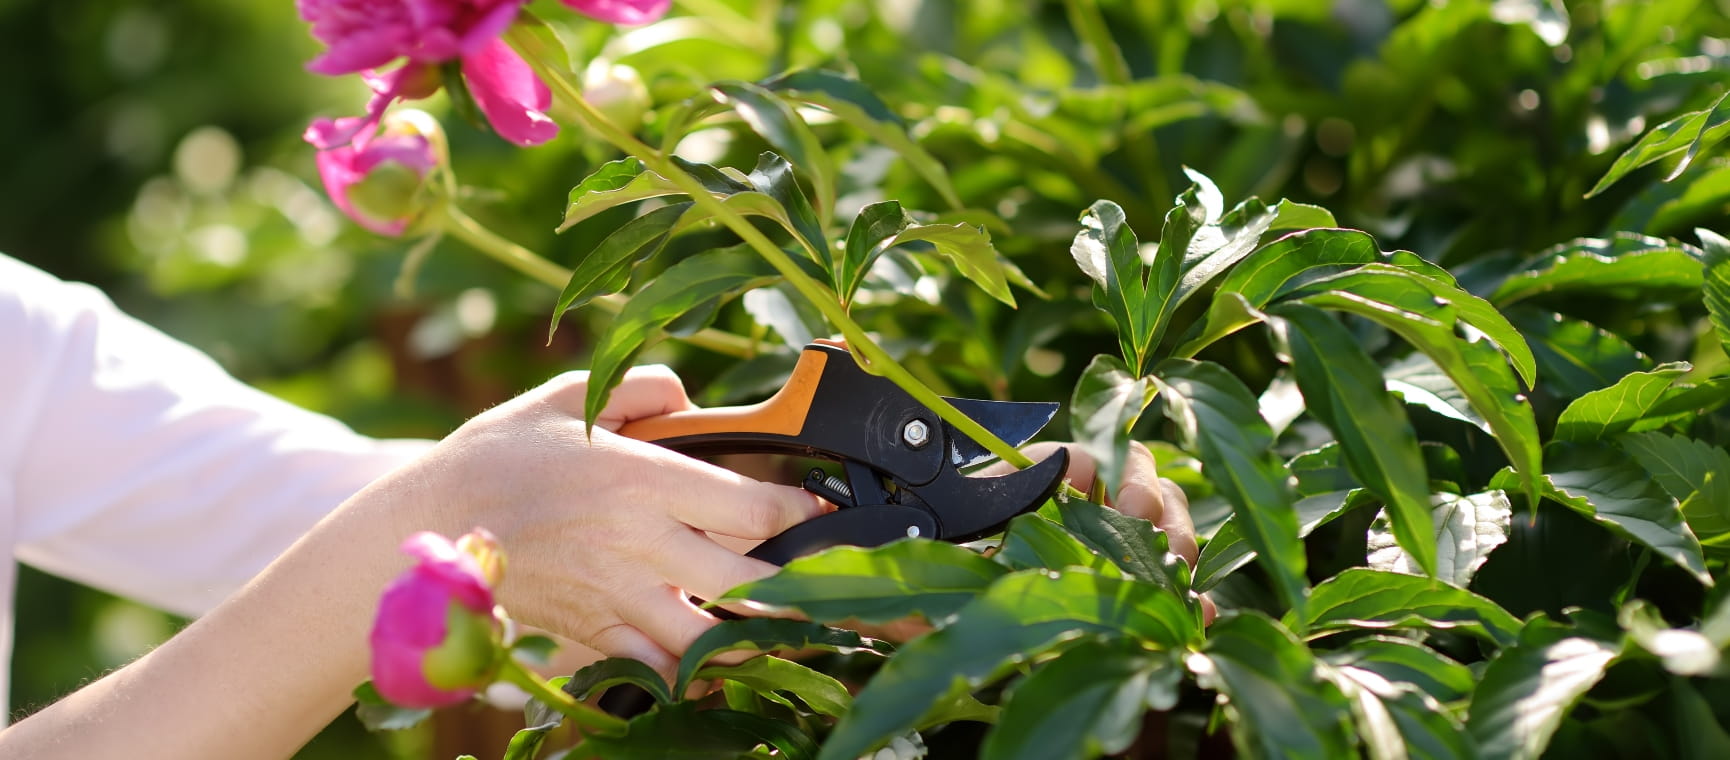
Pick the flowers when they’re dry, not damp with dew or recent rain.

Whether you’re using the book method or a flower press, make sure the flowers are labelled; slip in a piece of paper with the flowers’ names and the date.

No time to press flowers?

No time to press the flowers? Then pick fresh flowers from the garden, or some from a vase (children often do this unbidden!), and remove the petals, sorting them by colour. Stick with PVA glue on to paper and card, as below.

Pressing flowers in a microwave

You can now buy microwavable flower presses to quickly dry out flowers, leaves and stems in the microwave. You might have to experiment with timings, but it’s fun to find things out, right? The microwave method is better at preserving the petals’ colour. Try it on low power in 10-second bursts, opening it each time to check on the flowers and let the heat and moisture disperse. Repeat until the flower is dried out.

Using your pressed flowers for crafts

Make flower-filled pictures

Make simple shapes, like little people, fairies, butterflies, pets, or even fanciful flowers that don’t exist in nature, increasing in scope with the child’s age and artistic ability. Or draw a faint outline of a picture first, then fill in the spaces, like colouring in, with coloured petals.

To make a butterfly, draw a long, narrow body and a pair of antennae on a piece of paper or a card. Take two larger similar petals and glue in place with the smaller ends together on either side of the body, for the upper wings. Use two smaller petals for the lower wings.

Make a simple flower card

Pick three dried flowerheads, such as pansies. Glue in a line on the front of a blank card.

Make a nameplate or picture

Kids love to make personalised pieces. Cut a piece of white card to fit your picture frame. Write the name lightly in pencil. Choose a selection of pressed flowers to fit the letters. Stems, long, narrow leaves and sprigs of tiny flowers work best.

Arrange the flowers, stems and leaves on the pencilled name. When you’re happy with how it looks, stick it all in place with a very thin layer of PVA glue, applied with a fine paintbrush. Place in the frame and fix to the child’s bedroom door, or hang on the wall.

Make a ‘stained-glass window’

Pressed flowers look particularly pretty between sheets of glass, and hanging glass frames are easily available. Arrange the pattern or picture and hang against the window. 

Add colour to candles

Plan the positioning of the flowers on a piece of paper first. Melt a little wax from a candle, by lighting it, then holding it on its side over an old saucer so that the wick melts the wax and it drips off. Working quickly, paint a little melted wax on to the side of another candle, and stick on a pressed flower. Continue to build up a design.

Make a mini vase

Take the pressed flowers and place on the outside of a pretty glass or jam jar, making a design or positioning at random. 

Brush liberally with watered-down PVA glue. This will dry to a clear finish, and you’ll have a pretty little vase, ideal for displaying the grandchildren’s floral gifts, whether they’re wild or from your own garden!

Informative, in-depth and in the know: get the latest news, interviews and reviews with Saga Magazine.


Disclaimer

Saga Magazine is supported by its audience. When you purchase through links on our site or newsletter, we may earn affiliate commission. Everything we recommend is independently chosen irrespective of affiliate agreements.

The opinions expressed are those of the author and are not held by Saga unless specifically stated. The material is for general information only and does not constitute investment, tax, legal, medical or other form of advice. You should not rely on this information to make (or refrain from making) any decisions. Always obtain independent, professional advice for your own particular situation.